









Vada Pav Recipe – Mumbai Street Style at Home in 45 Minutes
 Sagar Dubal

22 June 2026
Vada pav is a famous snack across India, especially in Mumbai. A potato fritter stuffed inside a pav bun, served with two simple chutneys. This homemade variant gives you the same Mumbai street-style, hot, masaledaar taste in about 45 minutes.
This simple snack originated on the streets of Mumbai as a quick, filling bite for mill workers and busy commuters. A small ball of spiced, mashed potatoes, coated with basen, deep-fried till golden, packed between the pav with chutney, that's it. Nowadays, this simple snack is loved in almost every Indian household.
Why You Will Love This Recipe
- This gives you that authentic, crispy, spicy roadside stall bite.
- Everything comes together with simple pantry spices, no hard-to-find ingredients.
- It’ll be ready in around 45 minutes, including the chutneys or dip.
- Easy to make in advance and store: the chutneys stay good in the fridge.
- Naturally vegan and easy to make Jain-style, no-onion-no-garlic too.
Ingredients
This vada pau recipe makes 7-8 servings
For the potato vada:
- 3 medium, boiled and mashed potatoes
- 1 tbsp oil
- 0.25 tsp mustard seeds
- 6-7 curry leaves
- 1 tbsp ginger-garlic paste
- 2 finely chopped green chillies
- A small pinch of hathi hing (asafoetida)
- 0.25 tsp turmeric powder
- A little pinch of red chilli powder
- Salt, to taste
- 2-3 tbsps freshly chopped coriander leaves
For the batter:
- 0.75 cup gram (besan) flour
- 2-3 tbsps rice flour
- A pinch of hing (asafoetida)
- A pinch of hathi masala turmeric powder
- Water, as needed
- Salt, to taste
- Oil, for deep frying
For the dry garlic chutney:
- 6-8 garlic cloves
- 6-10 dried red chillies
- 0.5 cup grated, dried coconut
- Salt, to taste
For the green chutney:
- 1 cup coriander leaves
- 1-2 green chillies
- 1-2 garlic cloves
- 1 tsp lemon juice
- Salt, to taste
- Water, as needed
For serving:
- 7-8 pav
- Fried spicy green chillies
Step-By-Step Vada Pav Recipe

Step 1: Prepare the dry garlic chutney first
Dry-roast 6-8 garlic cloves in a pan for a couple of minutes, until lightly toasted. Add the 6-10 dried red chillies and dry roast them until crisp. Let both of them cool completely. Warm the dried coconut for a minute on the same pan, don't let it brown.
Once all these things cool, grind the chillies along with salt first, then add the garlic and coconut and grind them to a rough powder. Set this chutney aside. This stays fresh in an airtight container for a few days.
Step 2: Prepare the green chutney
Add some fresh coriander leaves along with green chillies, garlic, lemon juice, salt, and a little water in a blender. Blend them until smooth and thick. Taste and adjust the salt or lemon juice.
Step 3: Cook the potato filling
Heat 1 tbsp of oil in a wide pan on a low heat. Add some mustard seeds and let them crackle before adding the curry leaves. Once they turn crisp, add the ginger-garlic paste along with green chillies, and sauté until the raw smell disappears.
Step 4: Add the masalas and potatoes
Add the masalas like hing, turmeric, red chilli powder, and salt. Mix the masalas properly and make sure they won’t burn. Add the mashed potatoes and chopped coriander, then mix everything together. Turn off the heat and add more masalas according to your taste.
Step 5: Shape the vada
Let the potato masala cool completely. This is an important step, because hot masala is hard to shape and becomes soggy after frying. Divide the masala into 7-8 equal portions, then roll each into a small ball.
Step 6: Make the batter
In a wide bowl, combine the besan with the rice flour. Add the masalas to the flour, such as salt, hing, and turmeric. Add a little water at a time, whisking until a thick, smooth, lump-free batter forms. You have to make a thick batter that coats the potato balls evenly, not runny.
Step 7: Fry the vada
Heat the oil in a kadhai over medium heat. Test the oil's temperature by dropping a small amount of batter. It should sizzle and rise to the top. Coat each potato ball with the batter, then gently drop it into the hot oil. Don't move it for the first 2 minutes, then turn and fry until golden on all sides. Remove the hot fried vada onto a wire rack so the excess oil can drain off.
Step 8: Assemble the vada pav
Slit each pav from the middle. Spread green chutney on both sides, then sprinkle dry garlic chutney over it, to taste. Gently flatten a vada between your hands, then tuck it into the pav.
Step 9: Serve hot
Serve the vada pav immediately, while the vada is still hot, along with a few fried green chilli on the side if you like. Vada pav tastes best when it’s hot and fresh. It turns soft and soggy if left to sit for too long.
Different Variants of Vada Pav
Jain Vada Pav
Don’t use garlic and ginger in green chutney and potato masala. Instead, use a slightly larger pinch of hing to get the same deep taste. Follow the rest of the recipe.
Cheese Vada Pav
After adding the vada between the pav, add a thin slice of cheese or grate some cheese cube on top of the vada. The cheese will melt slightly from the heat of the hot vada. It’s popular amongst the kids and teenagers.
Schezwan Vada Pav
Apply a thin layer of Schezwan chutney or masala instead of the green chutney. You can also use Schezwan chutney along with green chutney for a spicier, tangier variant that's popular at newer roadside stalls.
Air-Fryer Vada (lighter option)
If you want a healthier option, then this variant is for you. Roll the potato masala into balls, coat them in a thick batter, place them on a tray, spray with oil, and air-fry at 200°C for about 12-15 minutes. The outer layer will be a little softer than the deep-fried version.
Expert Tips for Restaurant-Style Results
- Let the potato masala cool entirely before shaping it. A hot or warm mixture feels sticky and is hard to shape into balls.
- Don't forget to add the rice flour to the batter. This is what gives the outer layer that extra crispy texture, exactly what you get on the roadside stall.
- Keep the oil at a steady moderate heat. Too-hot oil browns the vada before the potato masala cooks properly. Too cold oil makes the vada soggy and oily.
- Keep the green chutney lightly thick. A runny, thin chutney soaks into the pav quickly, making the pav fall apart before you finish eating.
-
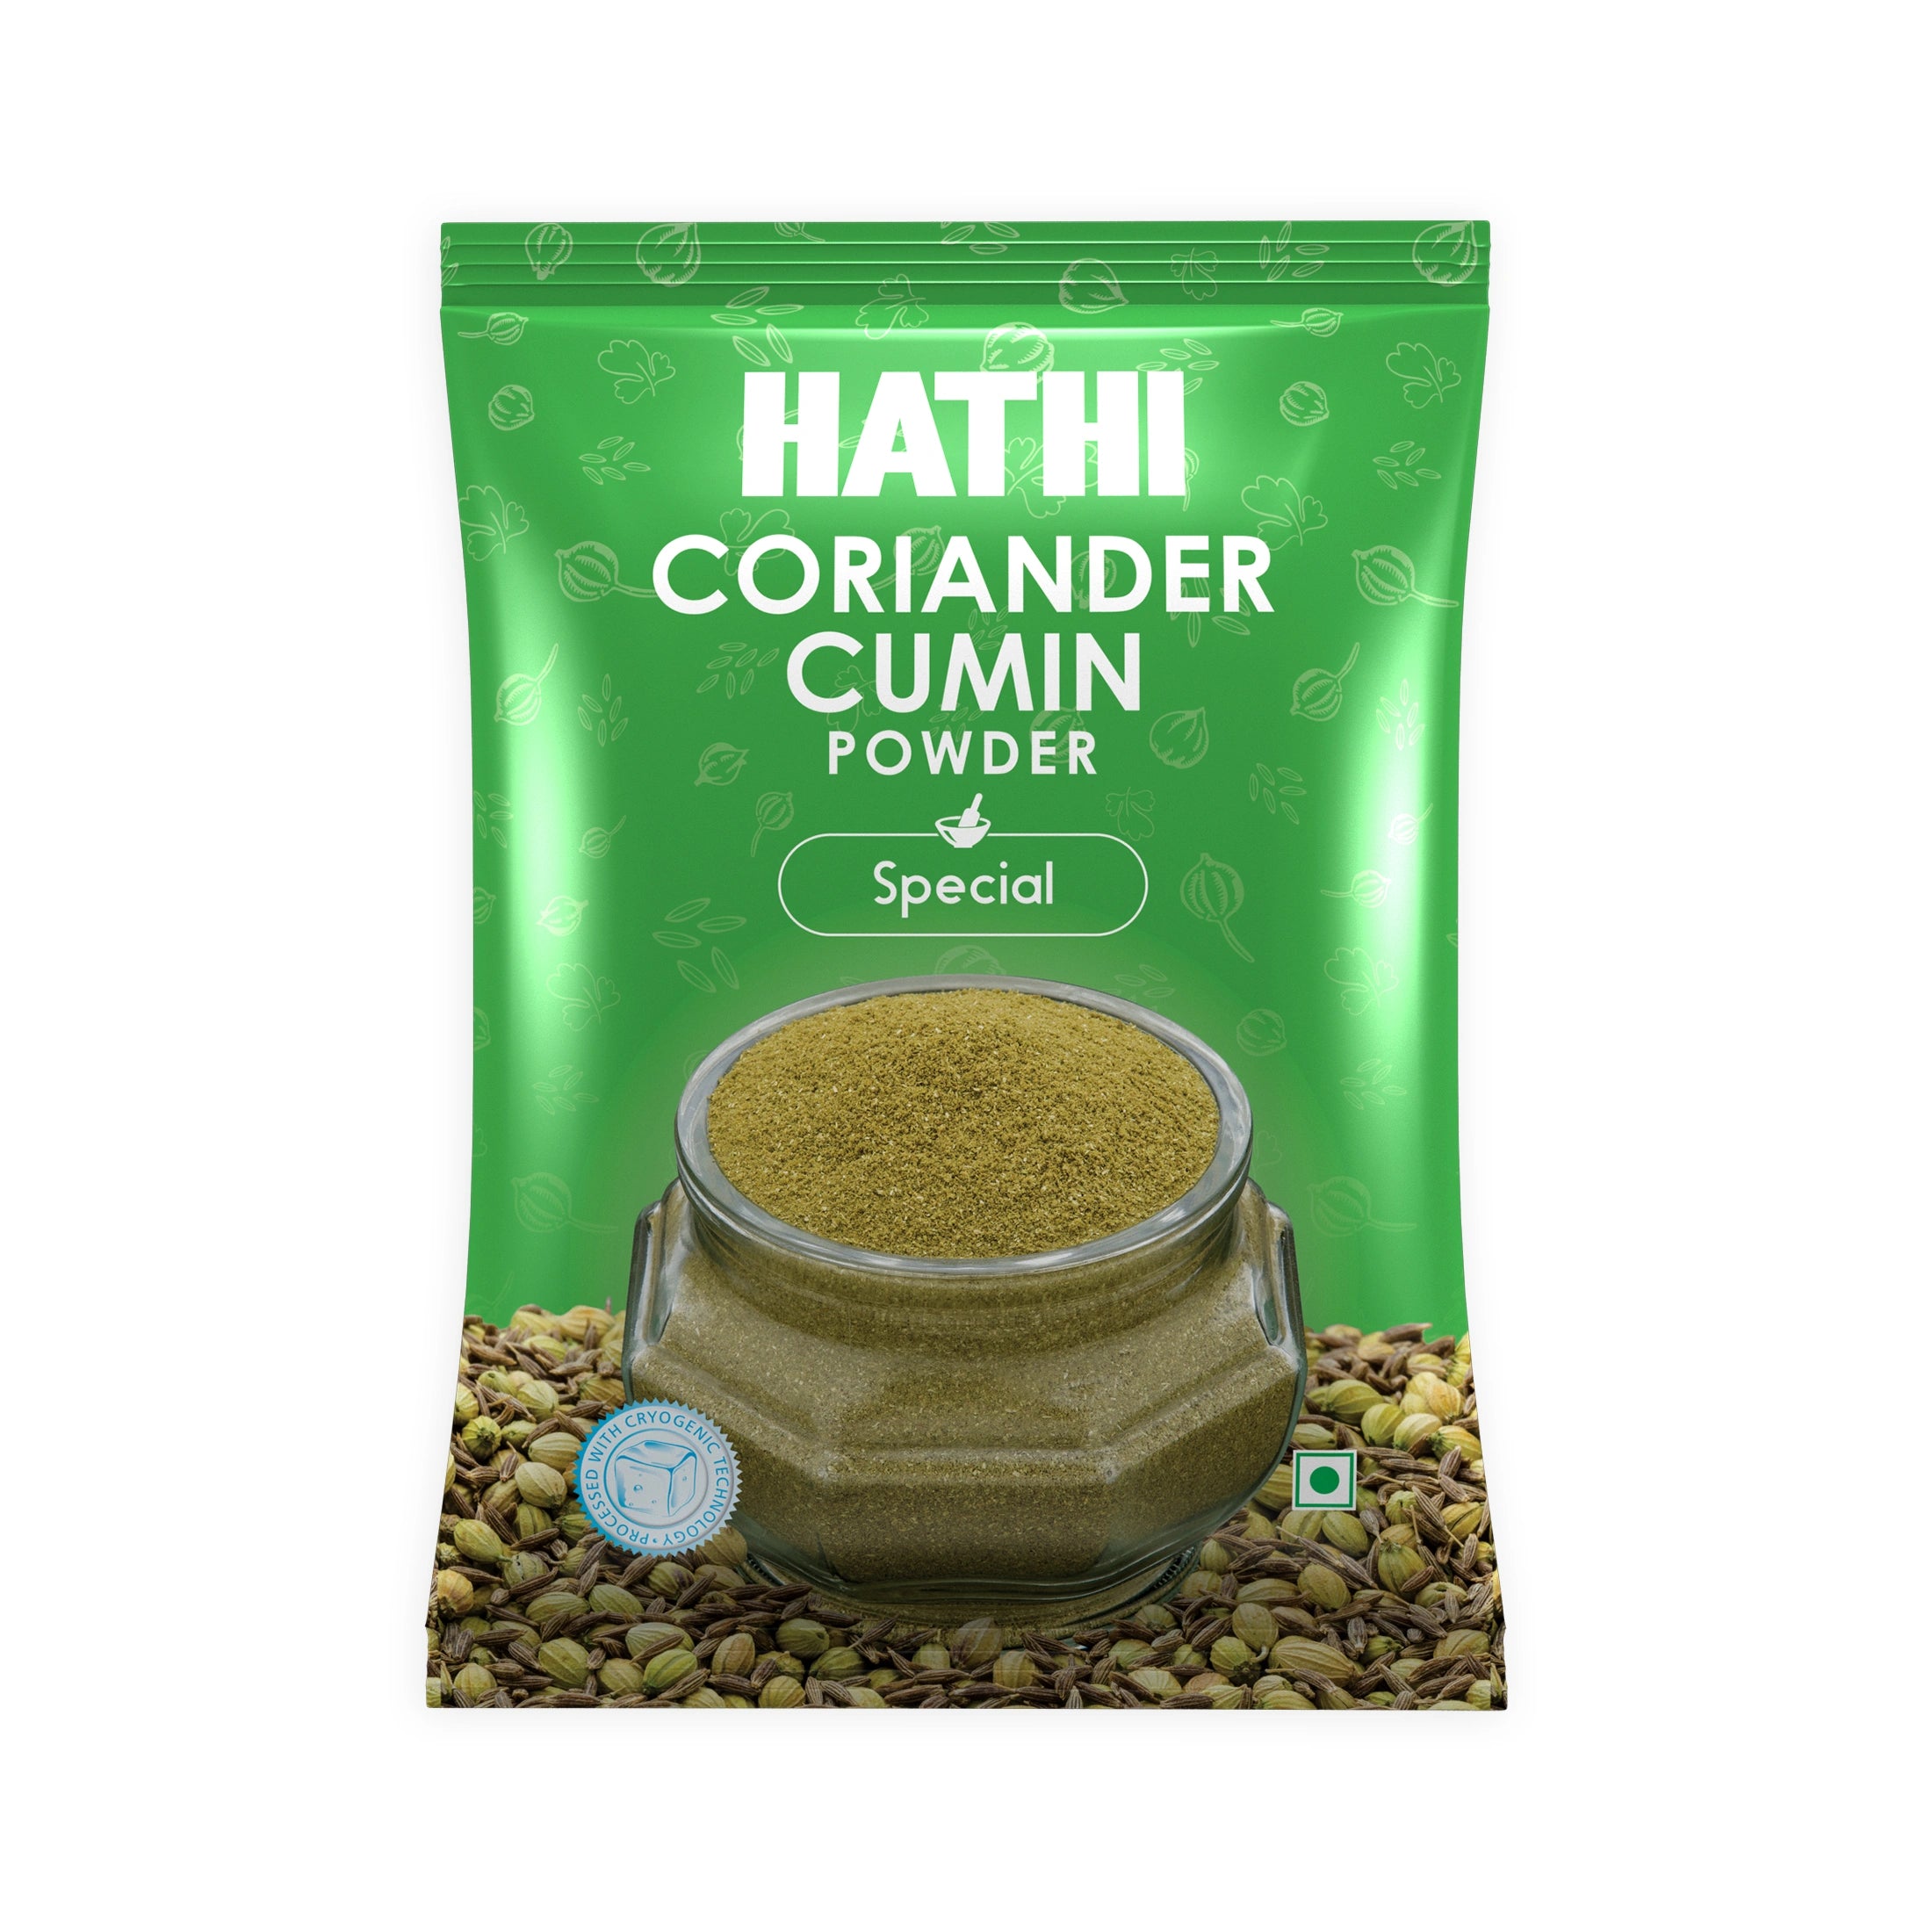
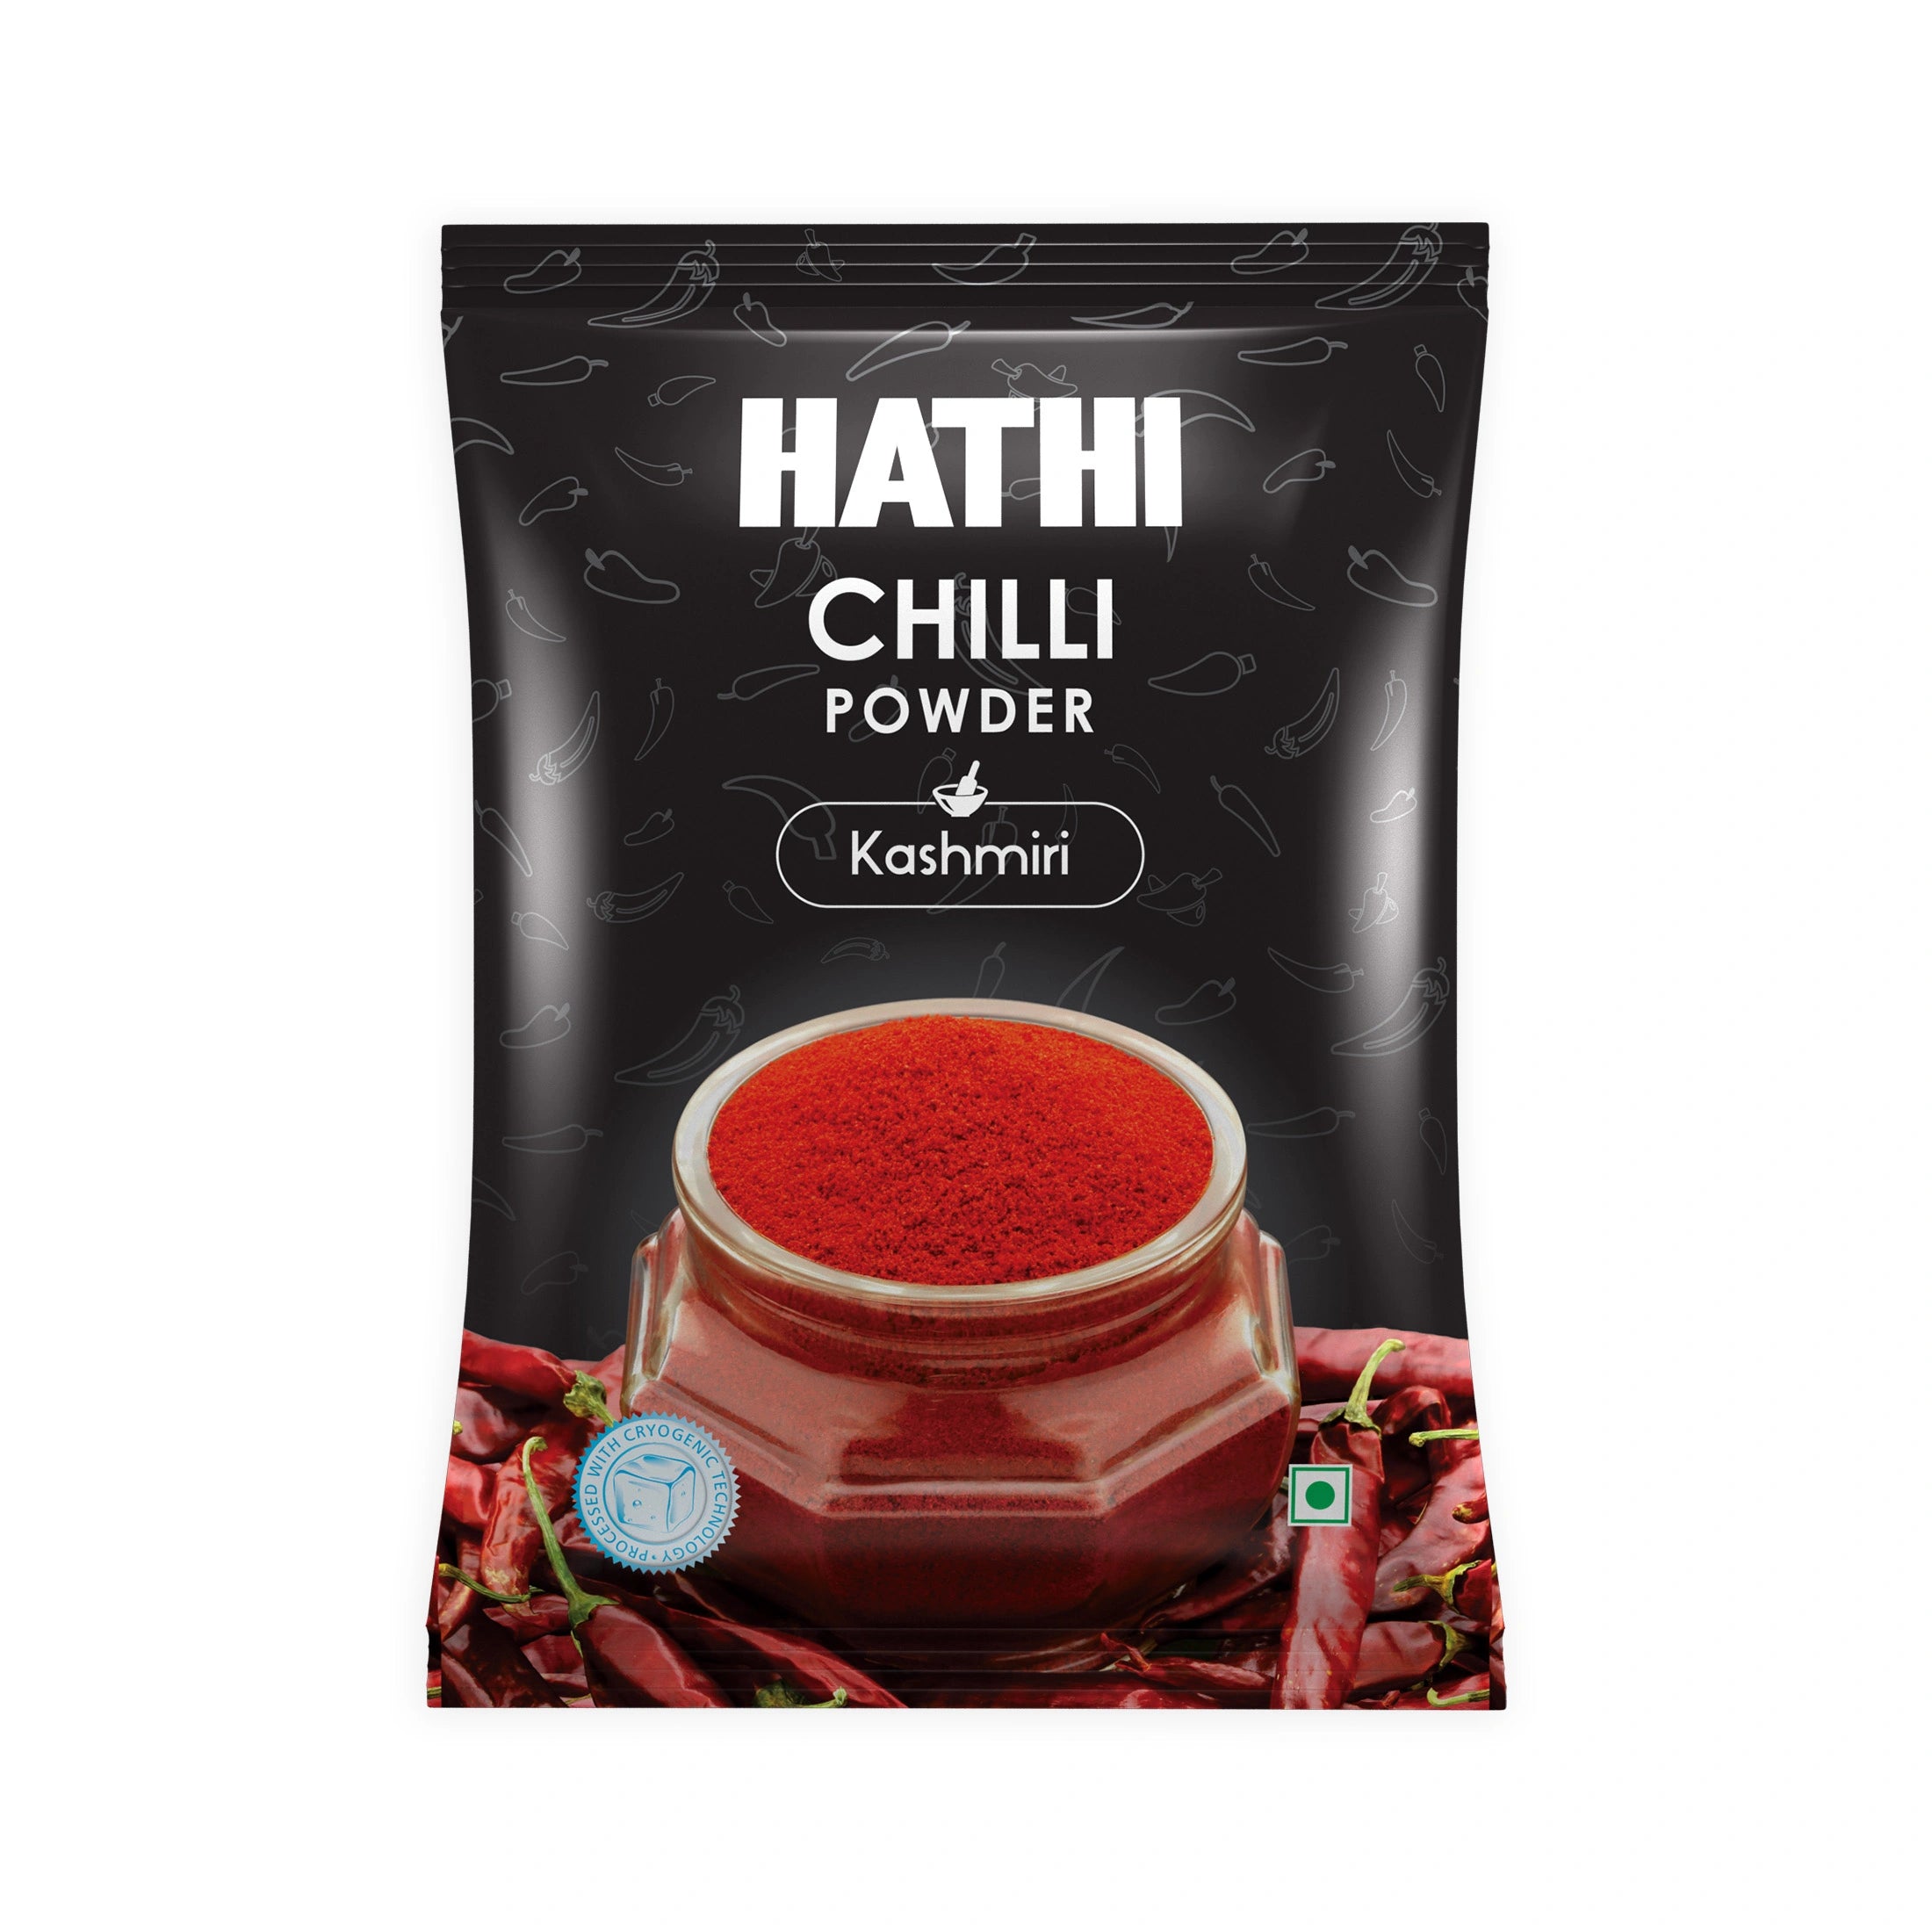
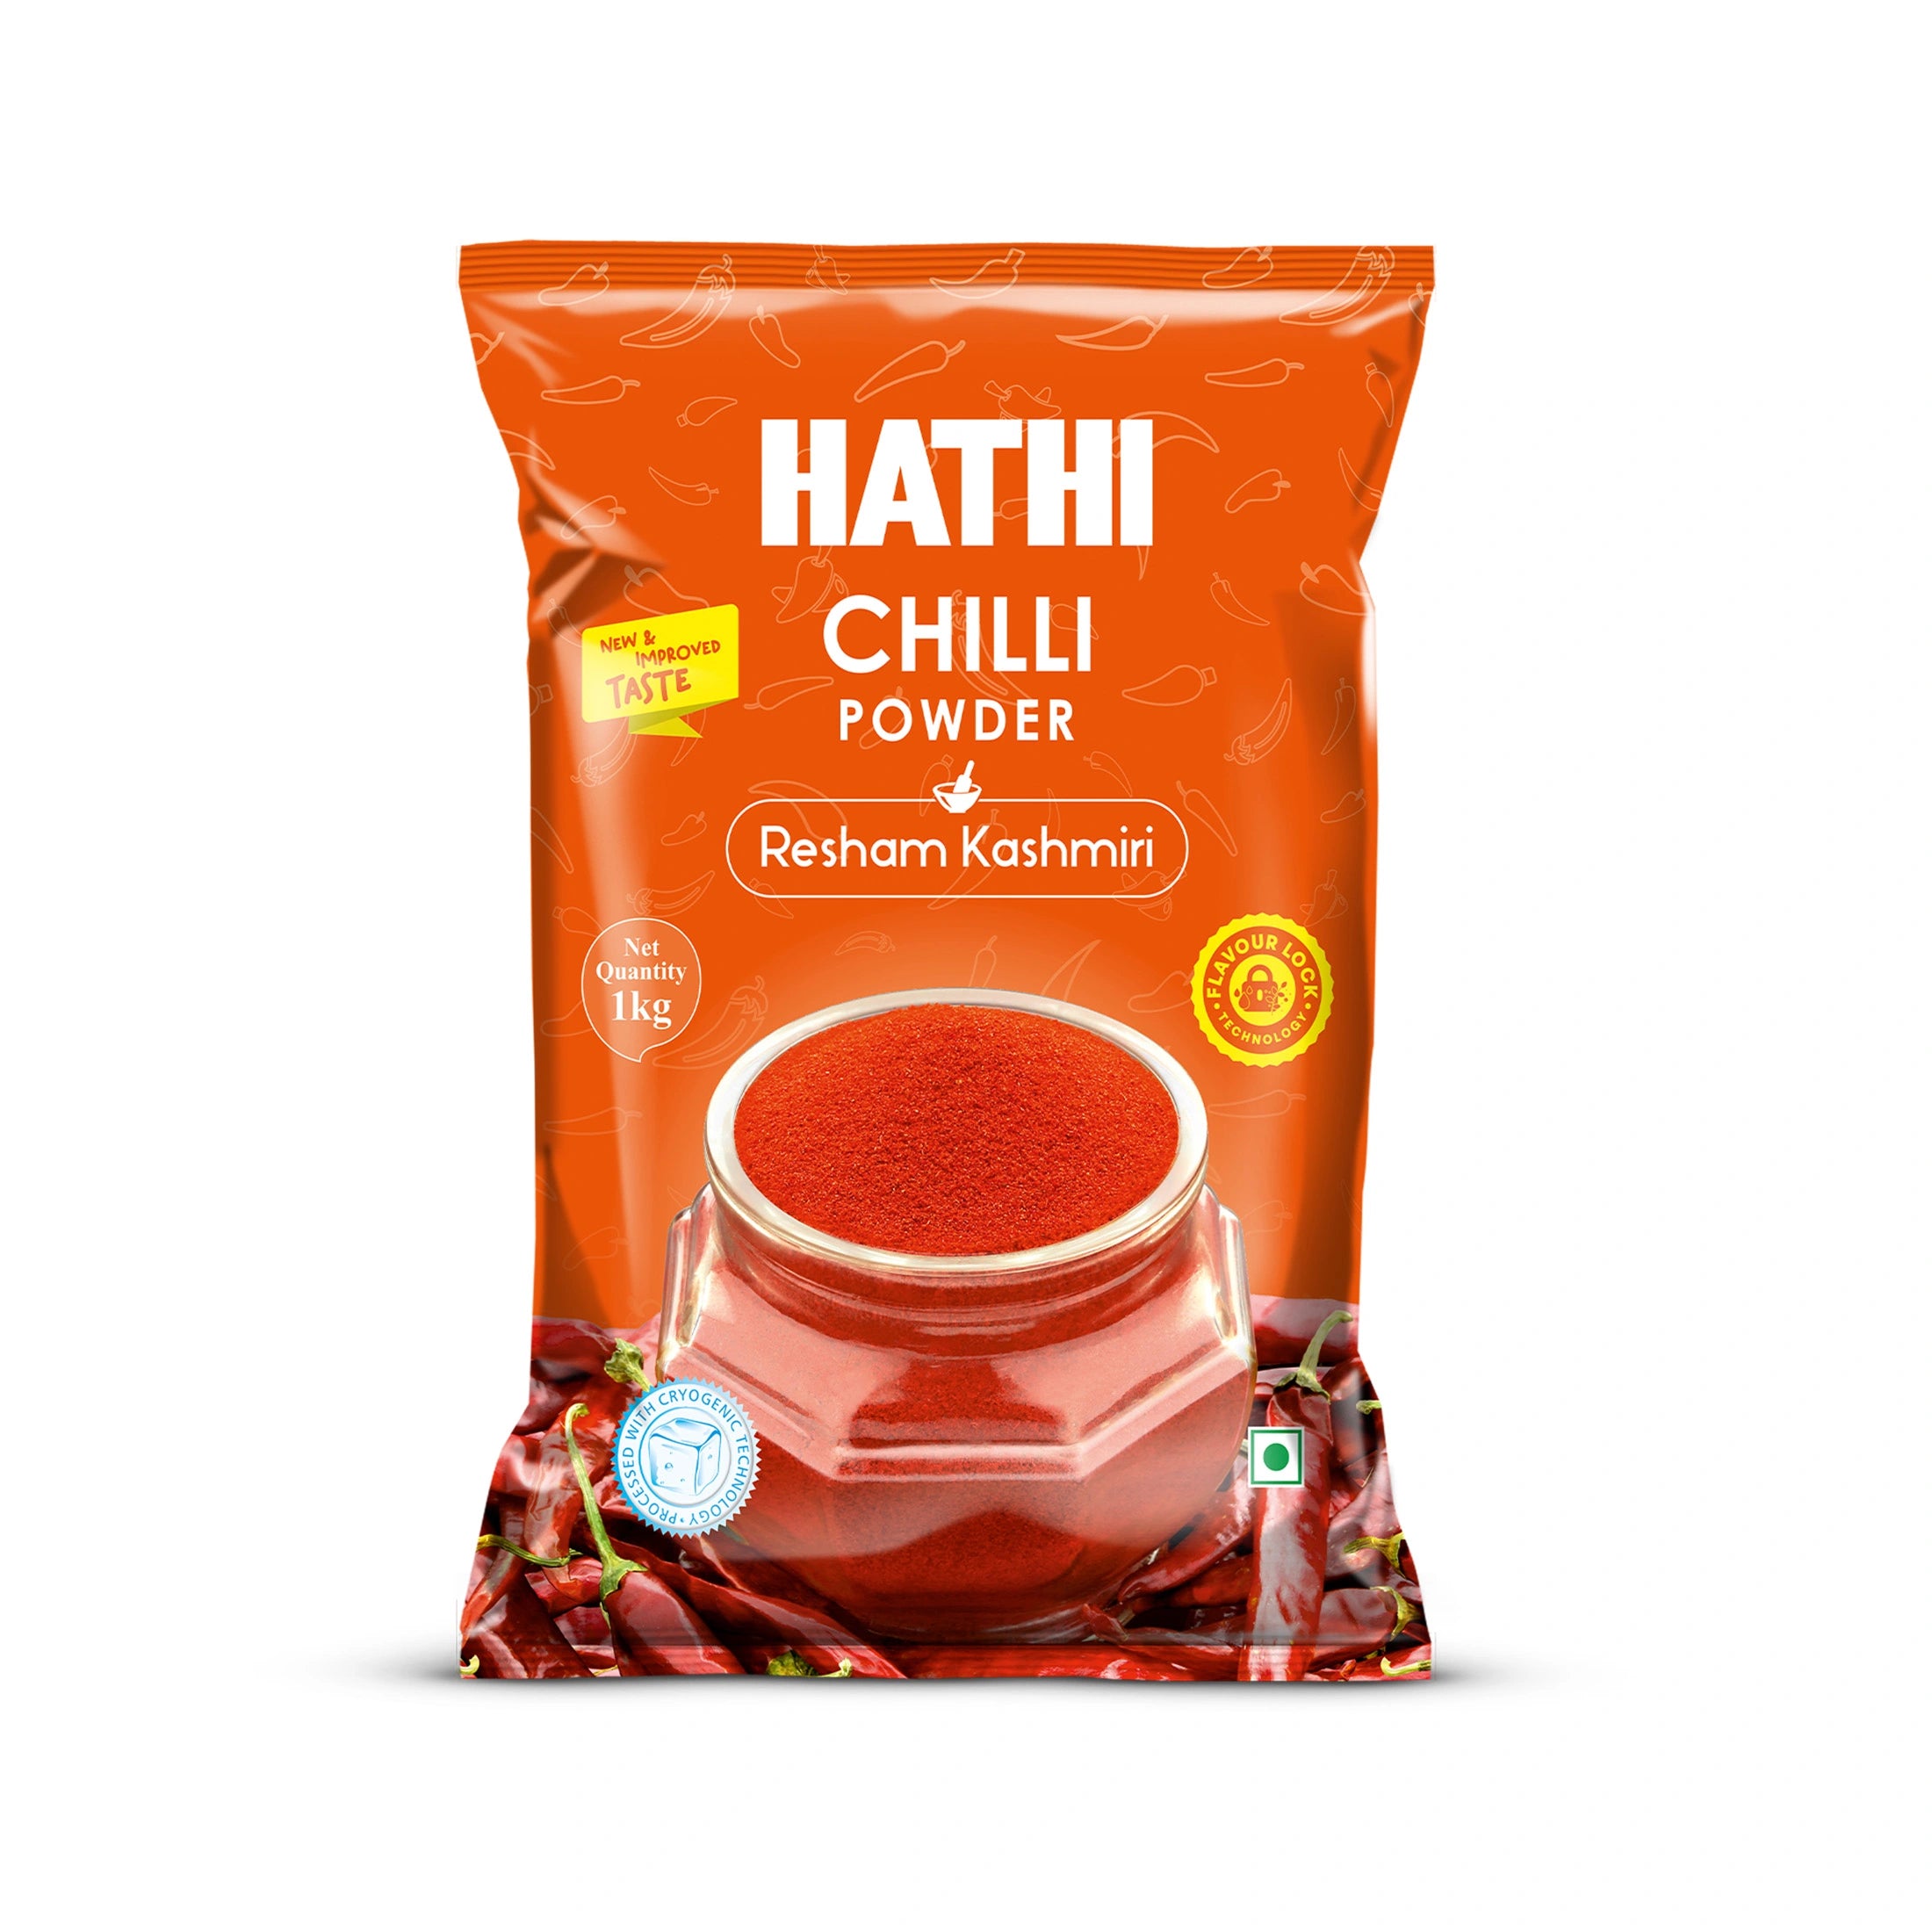
Use good-quality spices. Always choose high-quality spices; hathi masala works well.
Serving Suggestions
This is super satisfying dish on its own, but many Indian families pair it with:
- A cup of comforting hot masala tea is the classic roadside stall combination.
- Spicy fried green chillies and extra dry garlic chutney for dipping on the side.
- Some onion slices with a lemon wedge are also a good option to balance the spice.
Storage and Reheating
Refrigerator: You can store the fried vada in an airtight container for up to 2 days. The chutneys stay well when stored in airtight jars in the fridge for about 2-3 days.
To reheat: Reheat the vada first in an air fryer or oven until it turns crispy, or briefly shallow-fry in a little oil. Avoid microwaving, as it makes the covering soft and chewy instead of crisp.
Tip: Always assemble the pav fresh, right before eating. Vada pav doesn't store well once put together, since the chutney makes the bread soggy over time.
Frequently Asked Questions
Why does my vada turn out soggy or oily instead of crisp?
This happens if the oil isn't hot enough or the potato masala isn't completely cooled and firmer before shaping. Make sure the oil sizzles when you test it by adding a drop of batter. Always let the potato masala cool completely before shaping it.
Can I make vada pav without a deep fryer?
Yes, a regular pan or kadhai with enough oil to dip the entire vada in is a completely good option. There’s no need for a special fryer. You can also air-fry the vada for a healthier option.
Can I make the chutneys and vada in advance for a party?
Yes. You can prepare both chutneys 2-3 days in advance and store them in the fridge. You can also deep fry the vada a few hours ago and refry them until crisp right before serving.
How do I make vada pav less spicy for kids?
Use fewer green chillies in both the potato filling and the green chutney. You can skip the green chillies entirely. The dry garlic chutney also contains fewer dried red chillies, so you can skip that as well.
Can I make vada pav without onion or garlic?
Yes. Vadapau, made without onion, garlic, or ginger, is a Jain variant. Don’t add garlic to the chutney or the filling. Instead of onion and garlic, use a slightly bigger pinch of asafoetida to get the rich flavour.
Why does my vada batter not stick to the potato balls properly?
This mainly happens when you’ve made very thin batter, or the potato balls are still hot and slightly wet. Make sure your batter is thick enough to coat a spoon, and let the potato masala cool and harden entirely before coating them with the batter.
Can I use besan alone without rice flour for the batter?
Yes. You can skip the rice flour entirely, but the outer layer will turn out a little softer rather than crisp. Rice flour adds extra crunch to the vada, so it's worth adding if you want an authentic street-style vadapau.
What type of bread pav works best for vada pav?
Slightly sweet, soft ladi pav, the square, fluffy buns widely sold in Indian bakeries, pair perfectly with this dish. Authentic burger buns can be used as a substitute, though they're a little bigger and firmer than traditional pav bread.
Is vada pav a healthy snack option?
No. It isn’t a healthy snack option. It’s deep-fried, so it's best to enjoy it occasionally rather than daily. You can make it a little healthier by air-frying the vada instead of deep-frying it, or pair it with a side salad to balance the meal.