









How to Make Restaurant Style Matar Paneer at Home (Step-by-Step)
 Sagar Dubal

22 June 2026
Matar paneer is a spiced, thick curry made by cooking soft paneer and green peas in a rich onion-tomato gravy. This step-by-step recipe gives you the same creamy, restaurant-style taste at home in just over 40 minutes. The secret isn’t a long list of separately measured masalas. A good Hathi garam masala and the right technique do most of the work.
Every Indian family has its own recipe to make matar paneer. Some make it thick and creamy, some make it light and home-cooked, and some add cashew paste for extra richness. This recipe gives you the restaurant-style variant, the one that everyone loves.
What You Will Learn:
- How to make a perfect restaurant-style matar paneer at home
- The easy trick of blending the masala base for a smooth, creamy gravy.
- Which and how many spices you should use, no guessing
- Variants like Jain and a fast weeknight variant
- How to store leftovers properly
Ingredients (Serves 4)
For the gravy base:
- 2 medium, roughly chopped onions
- 3 ripe tomatoes, roughly chopped
- 10-12 soaked cashews
- 1 tablespoon ginger-garlic paste
- 1 slit green chilli
- 2 tablespoons oil or butter
- 1 bay leaf
- 2 green cardamoms
- 1 small cinnamon stick
- 2 cloves
The spices:
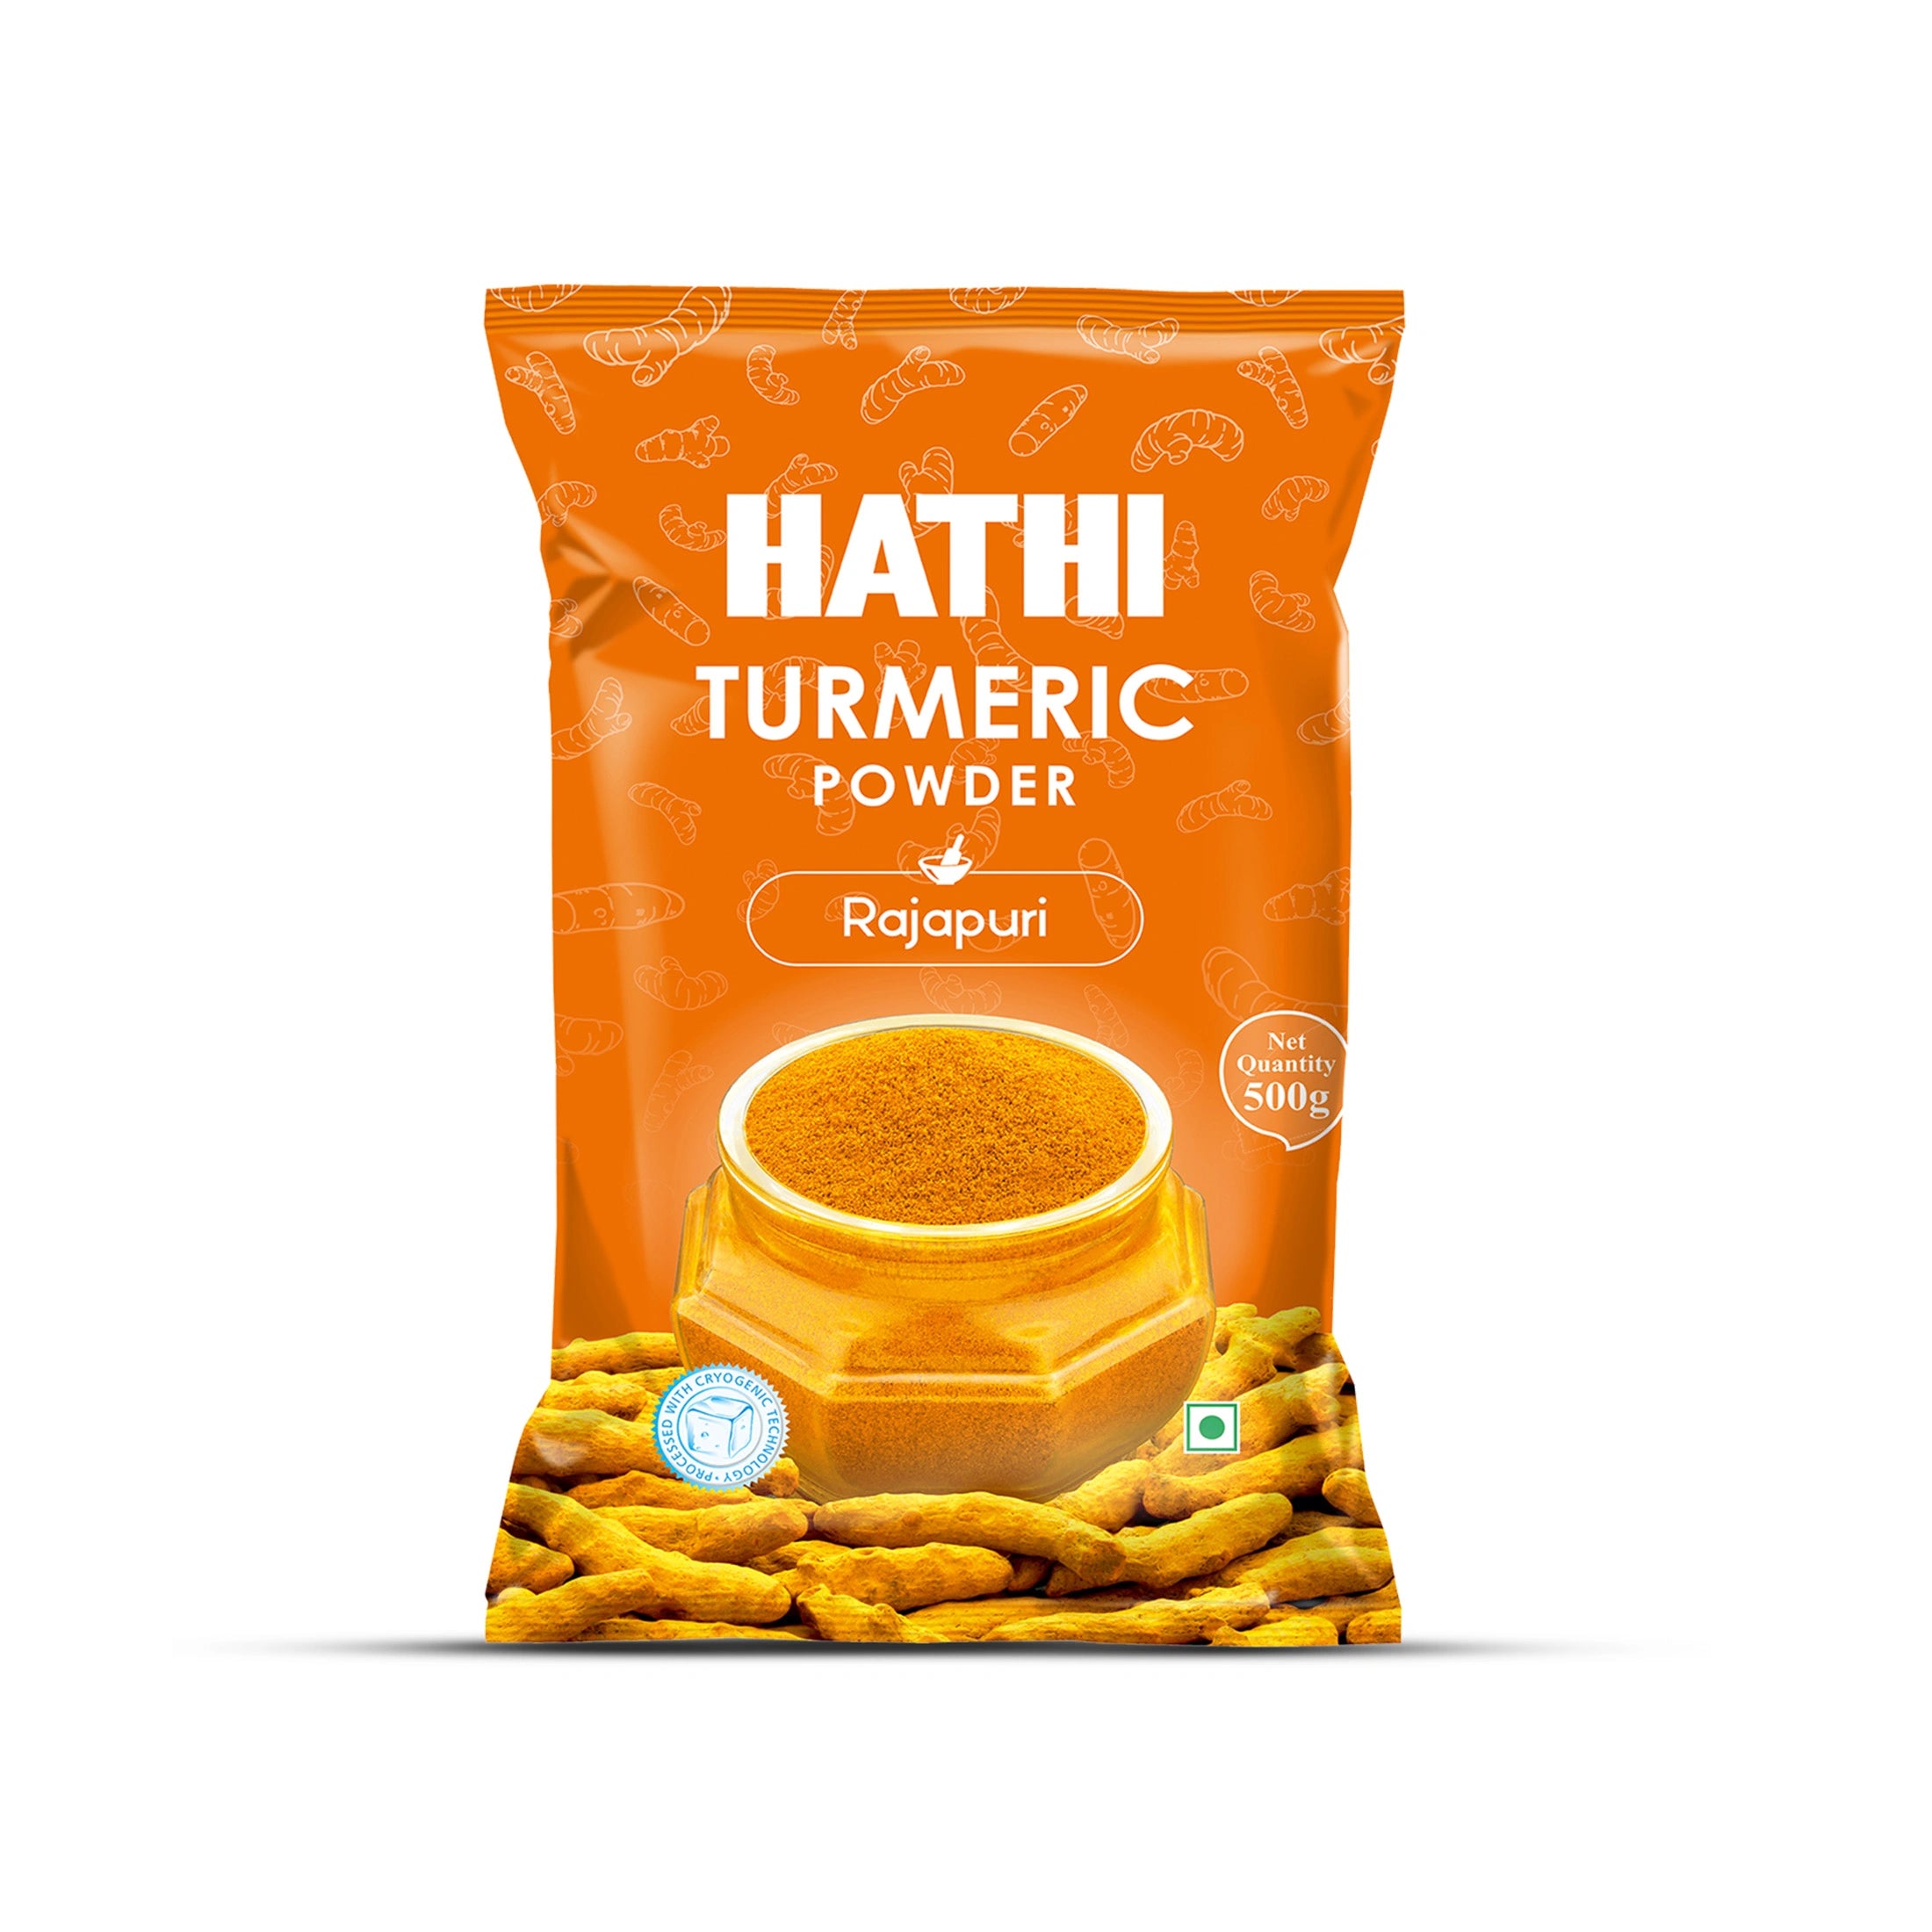
- 0.5 teaspoon hathi turmeric powder
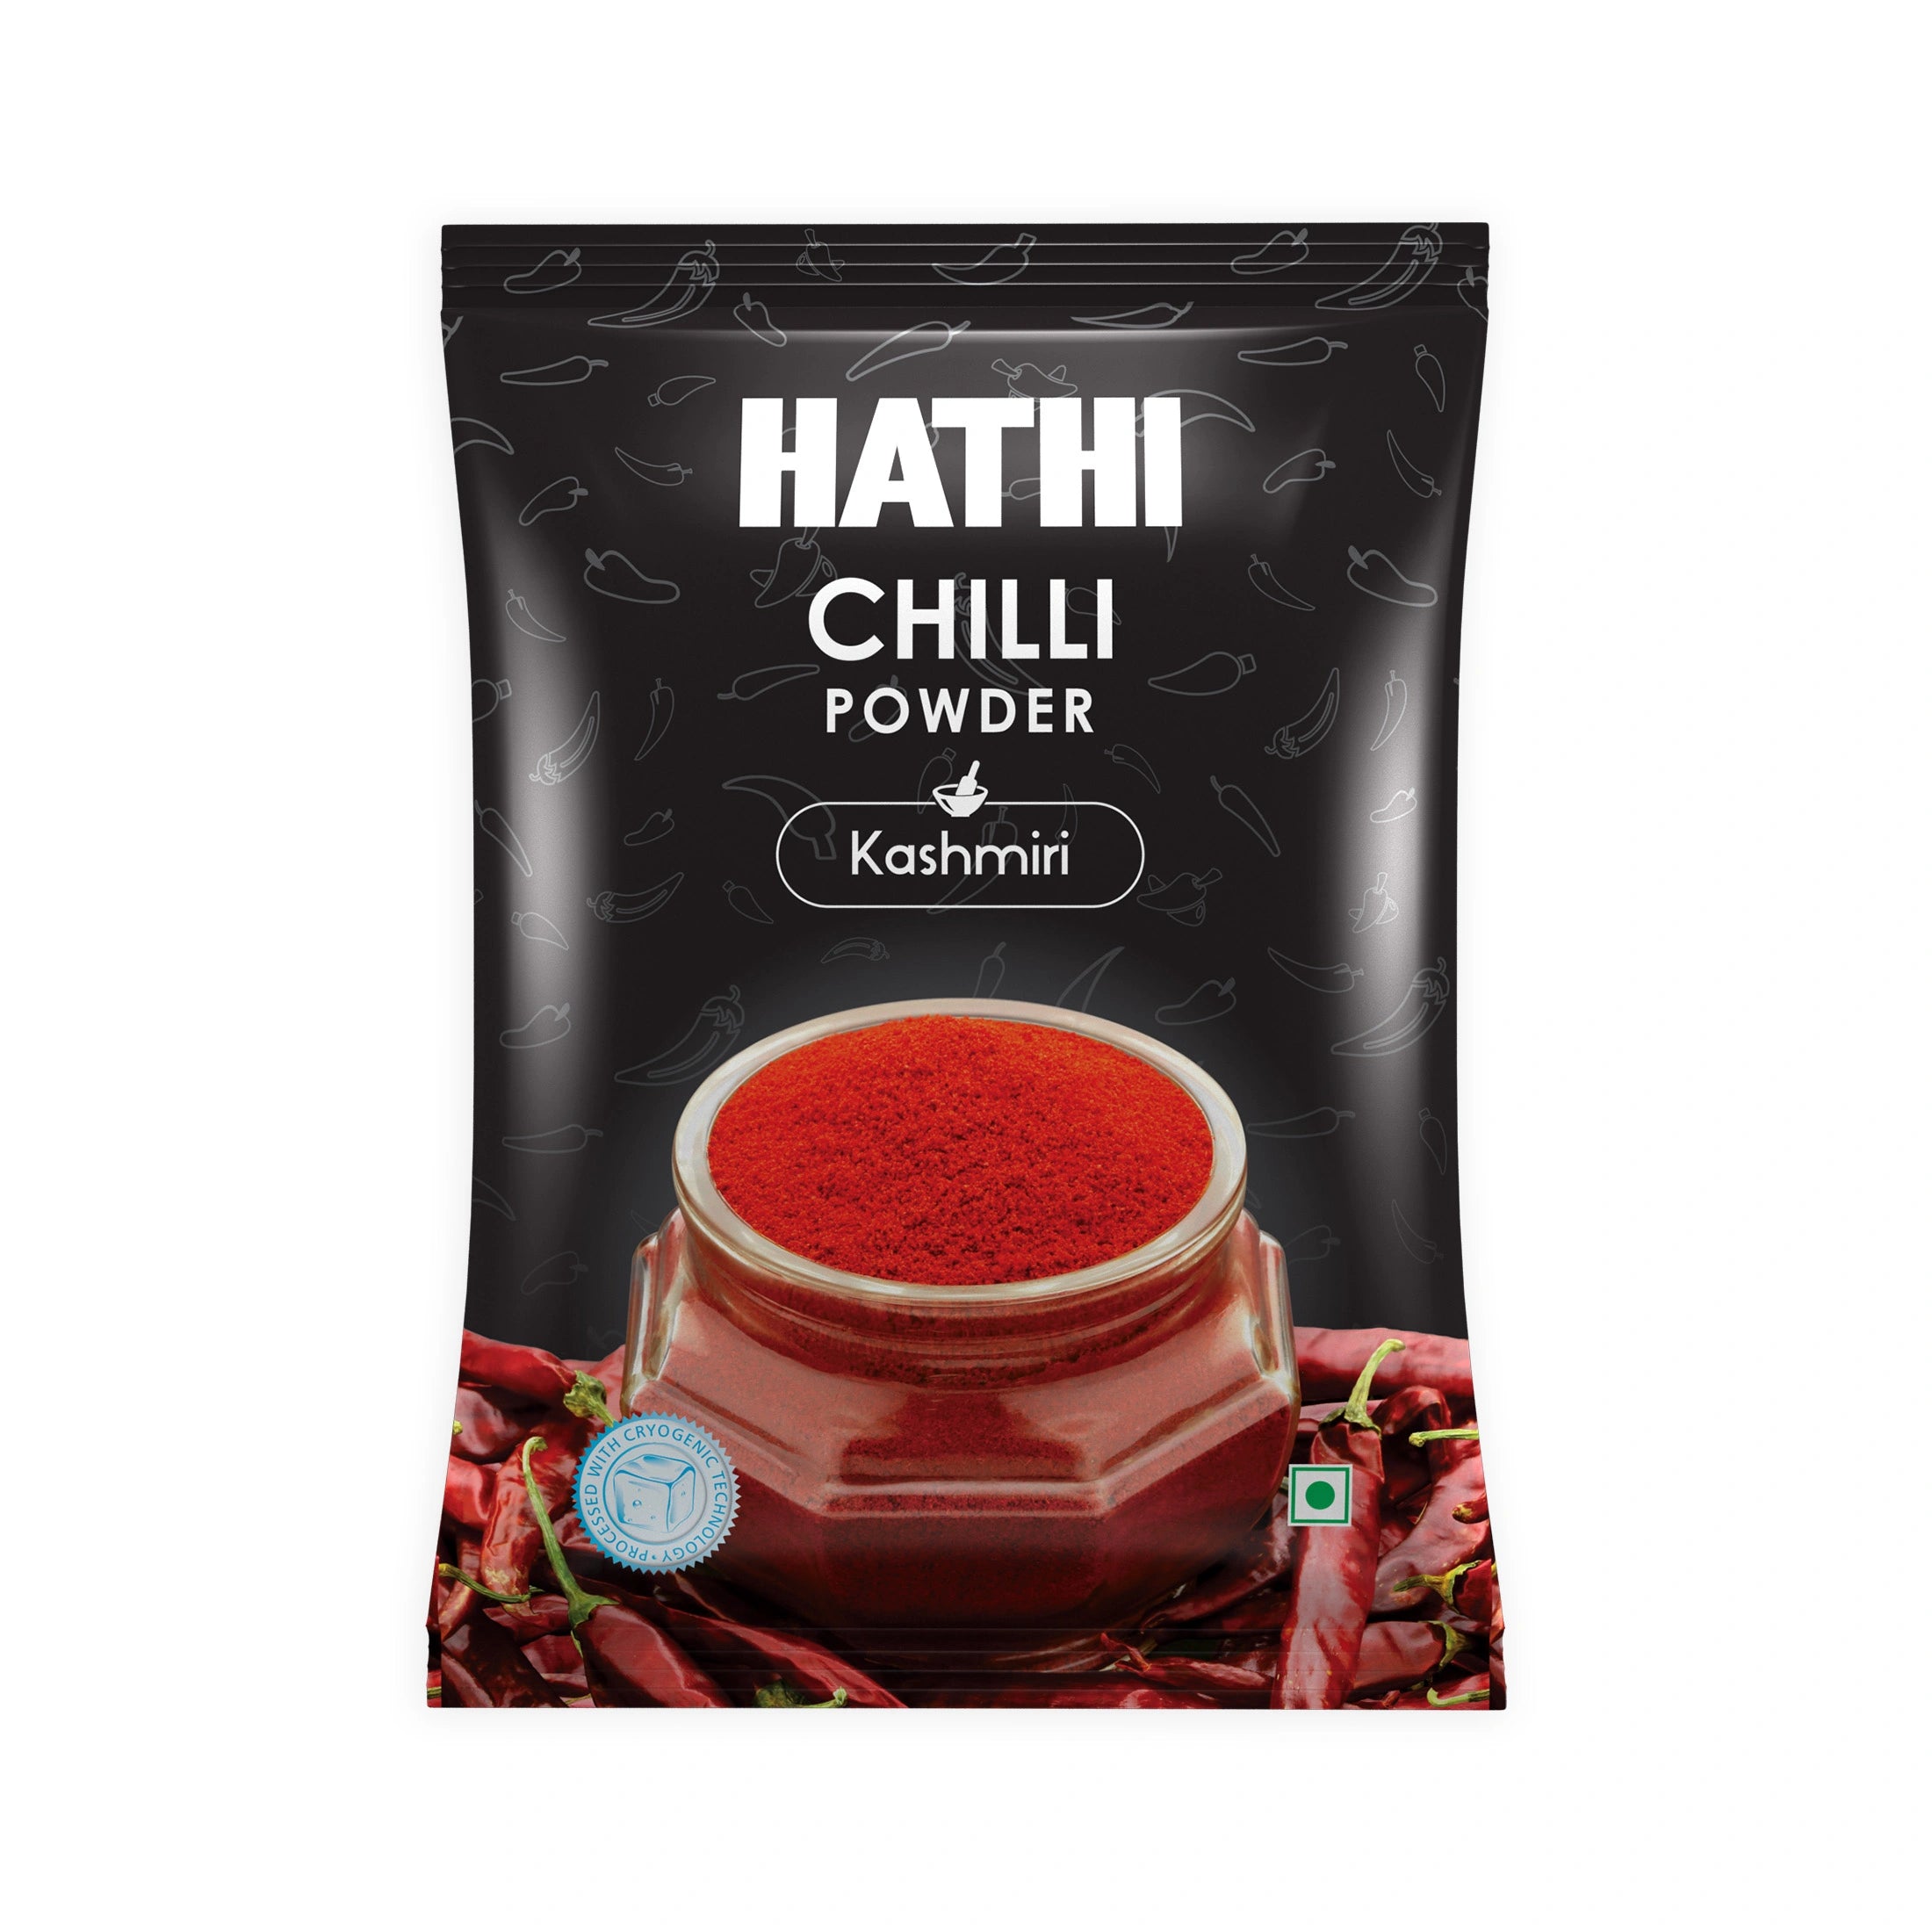
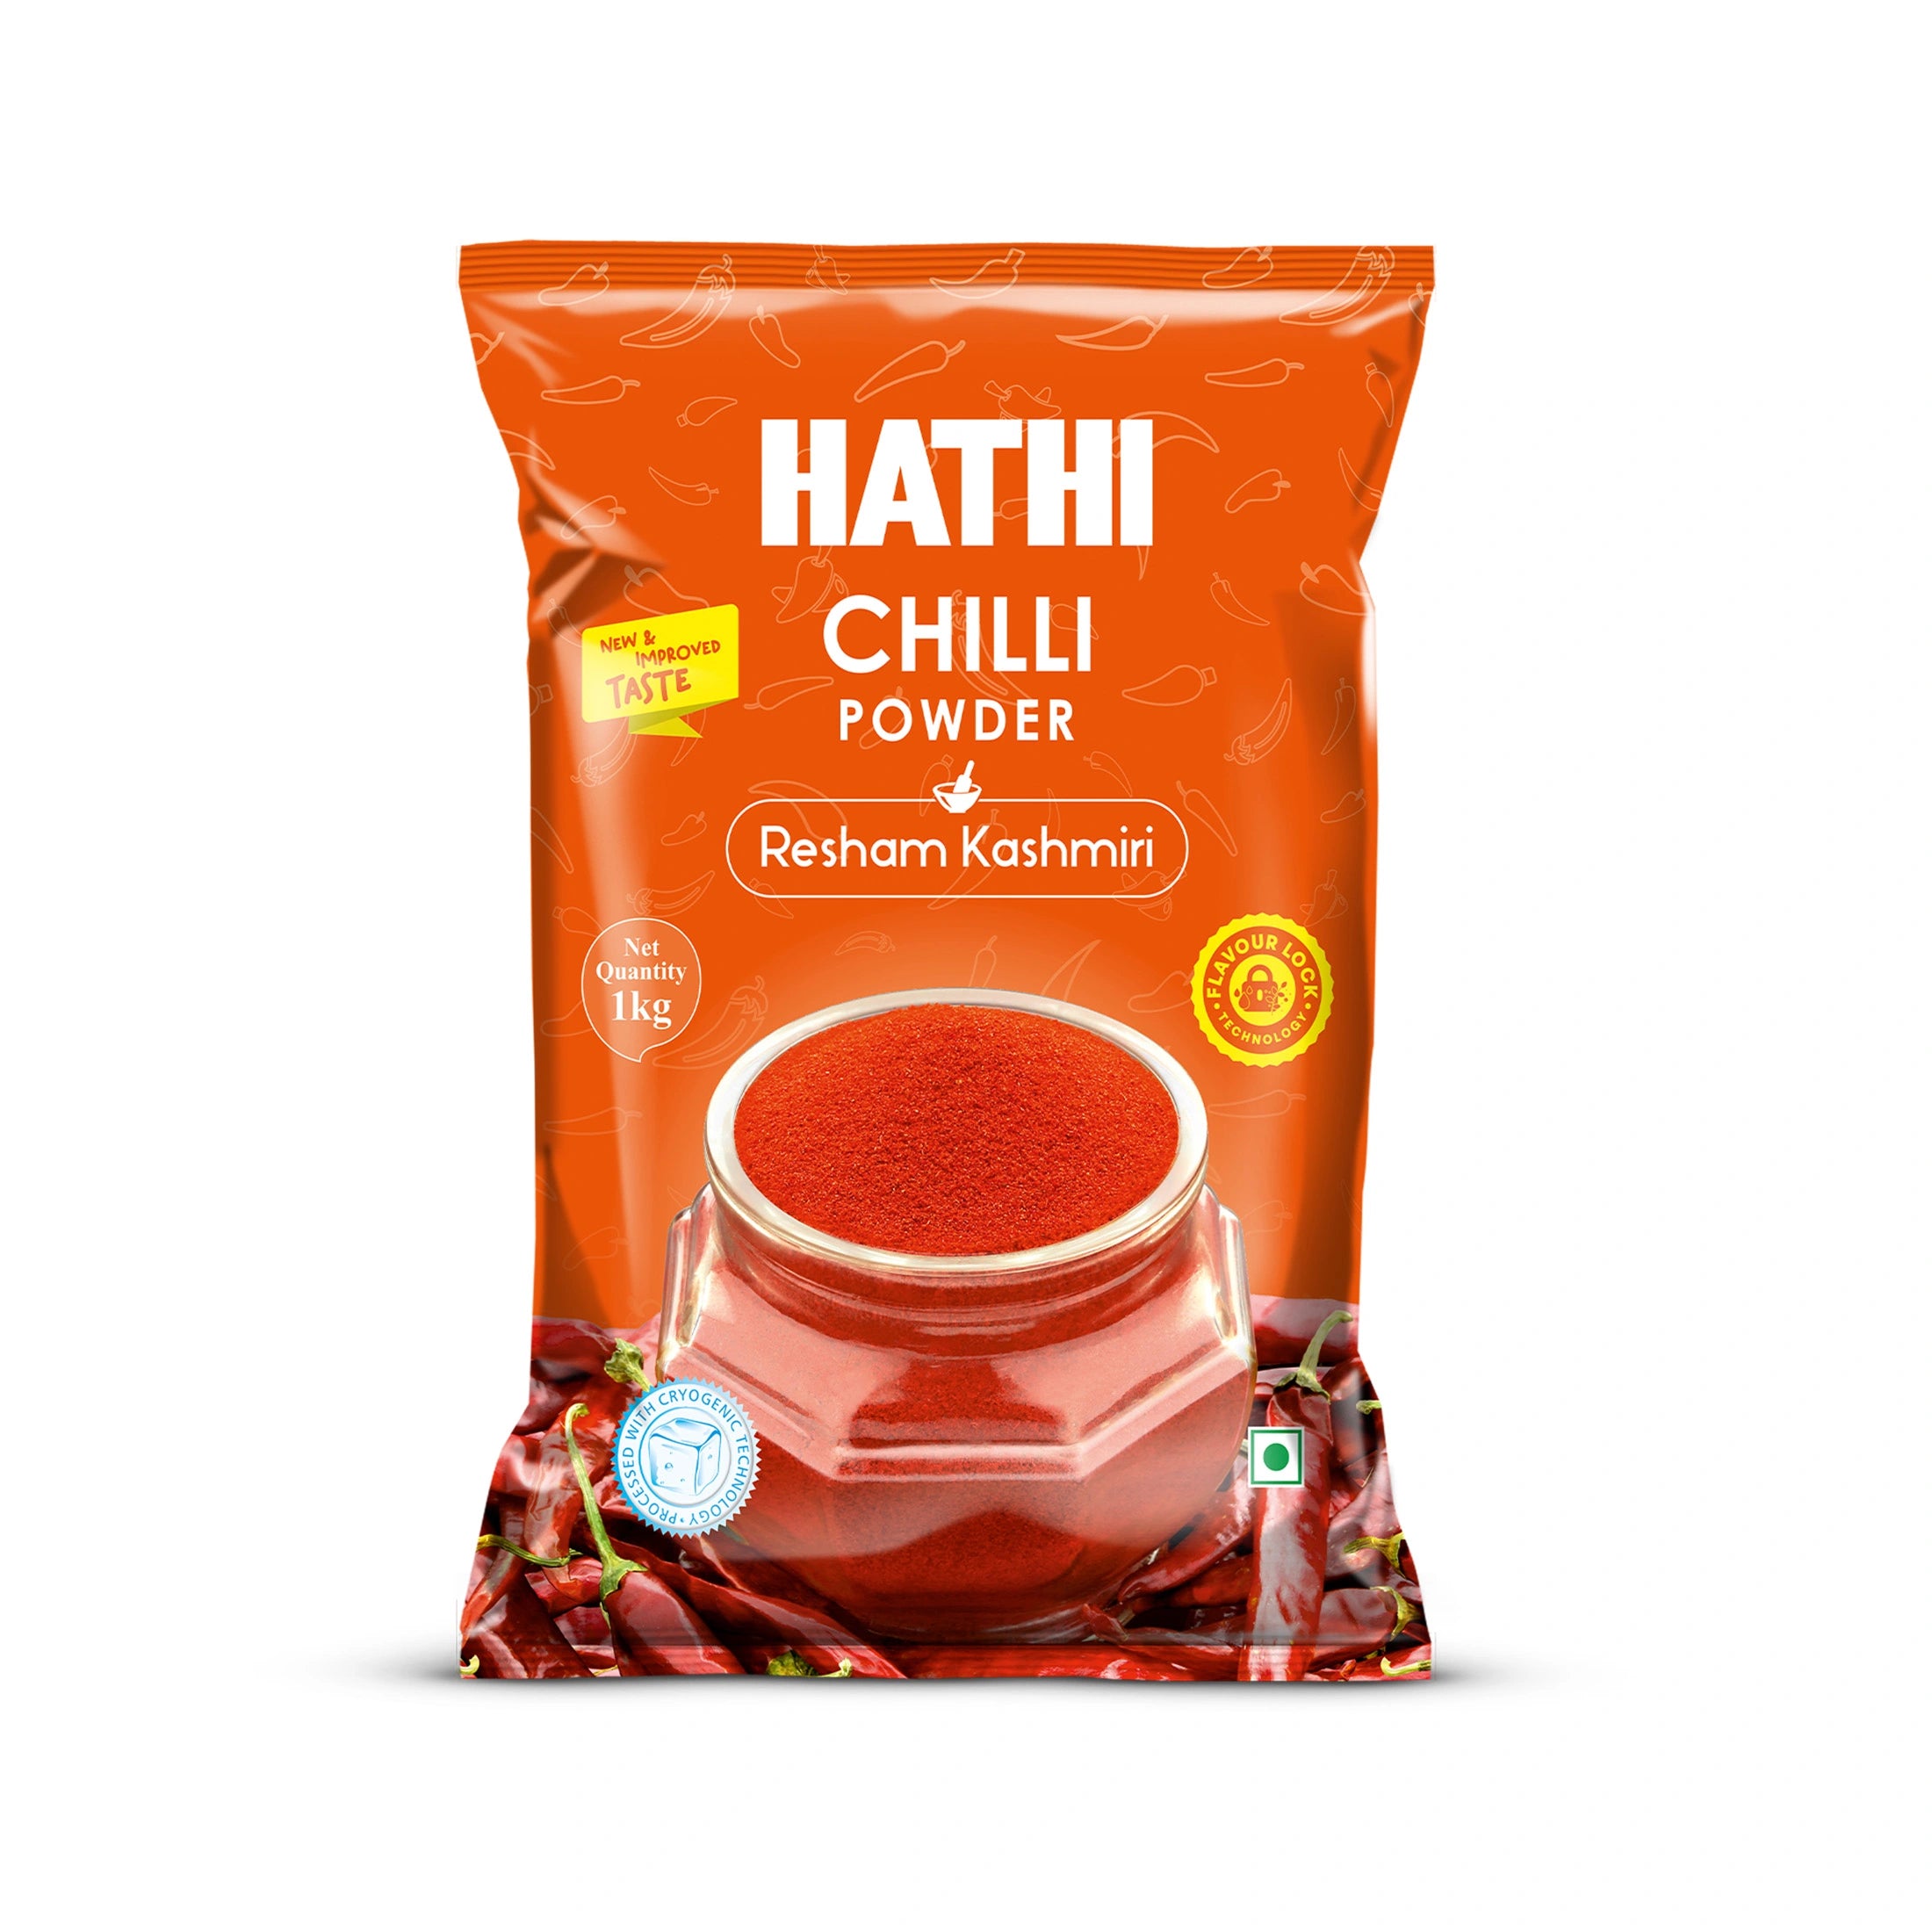
- 1.5 teaspoons hathi Kashmiri chilli powder
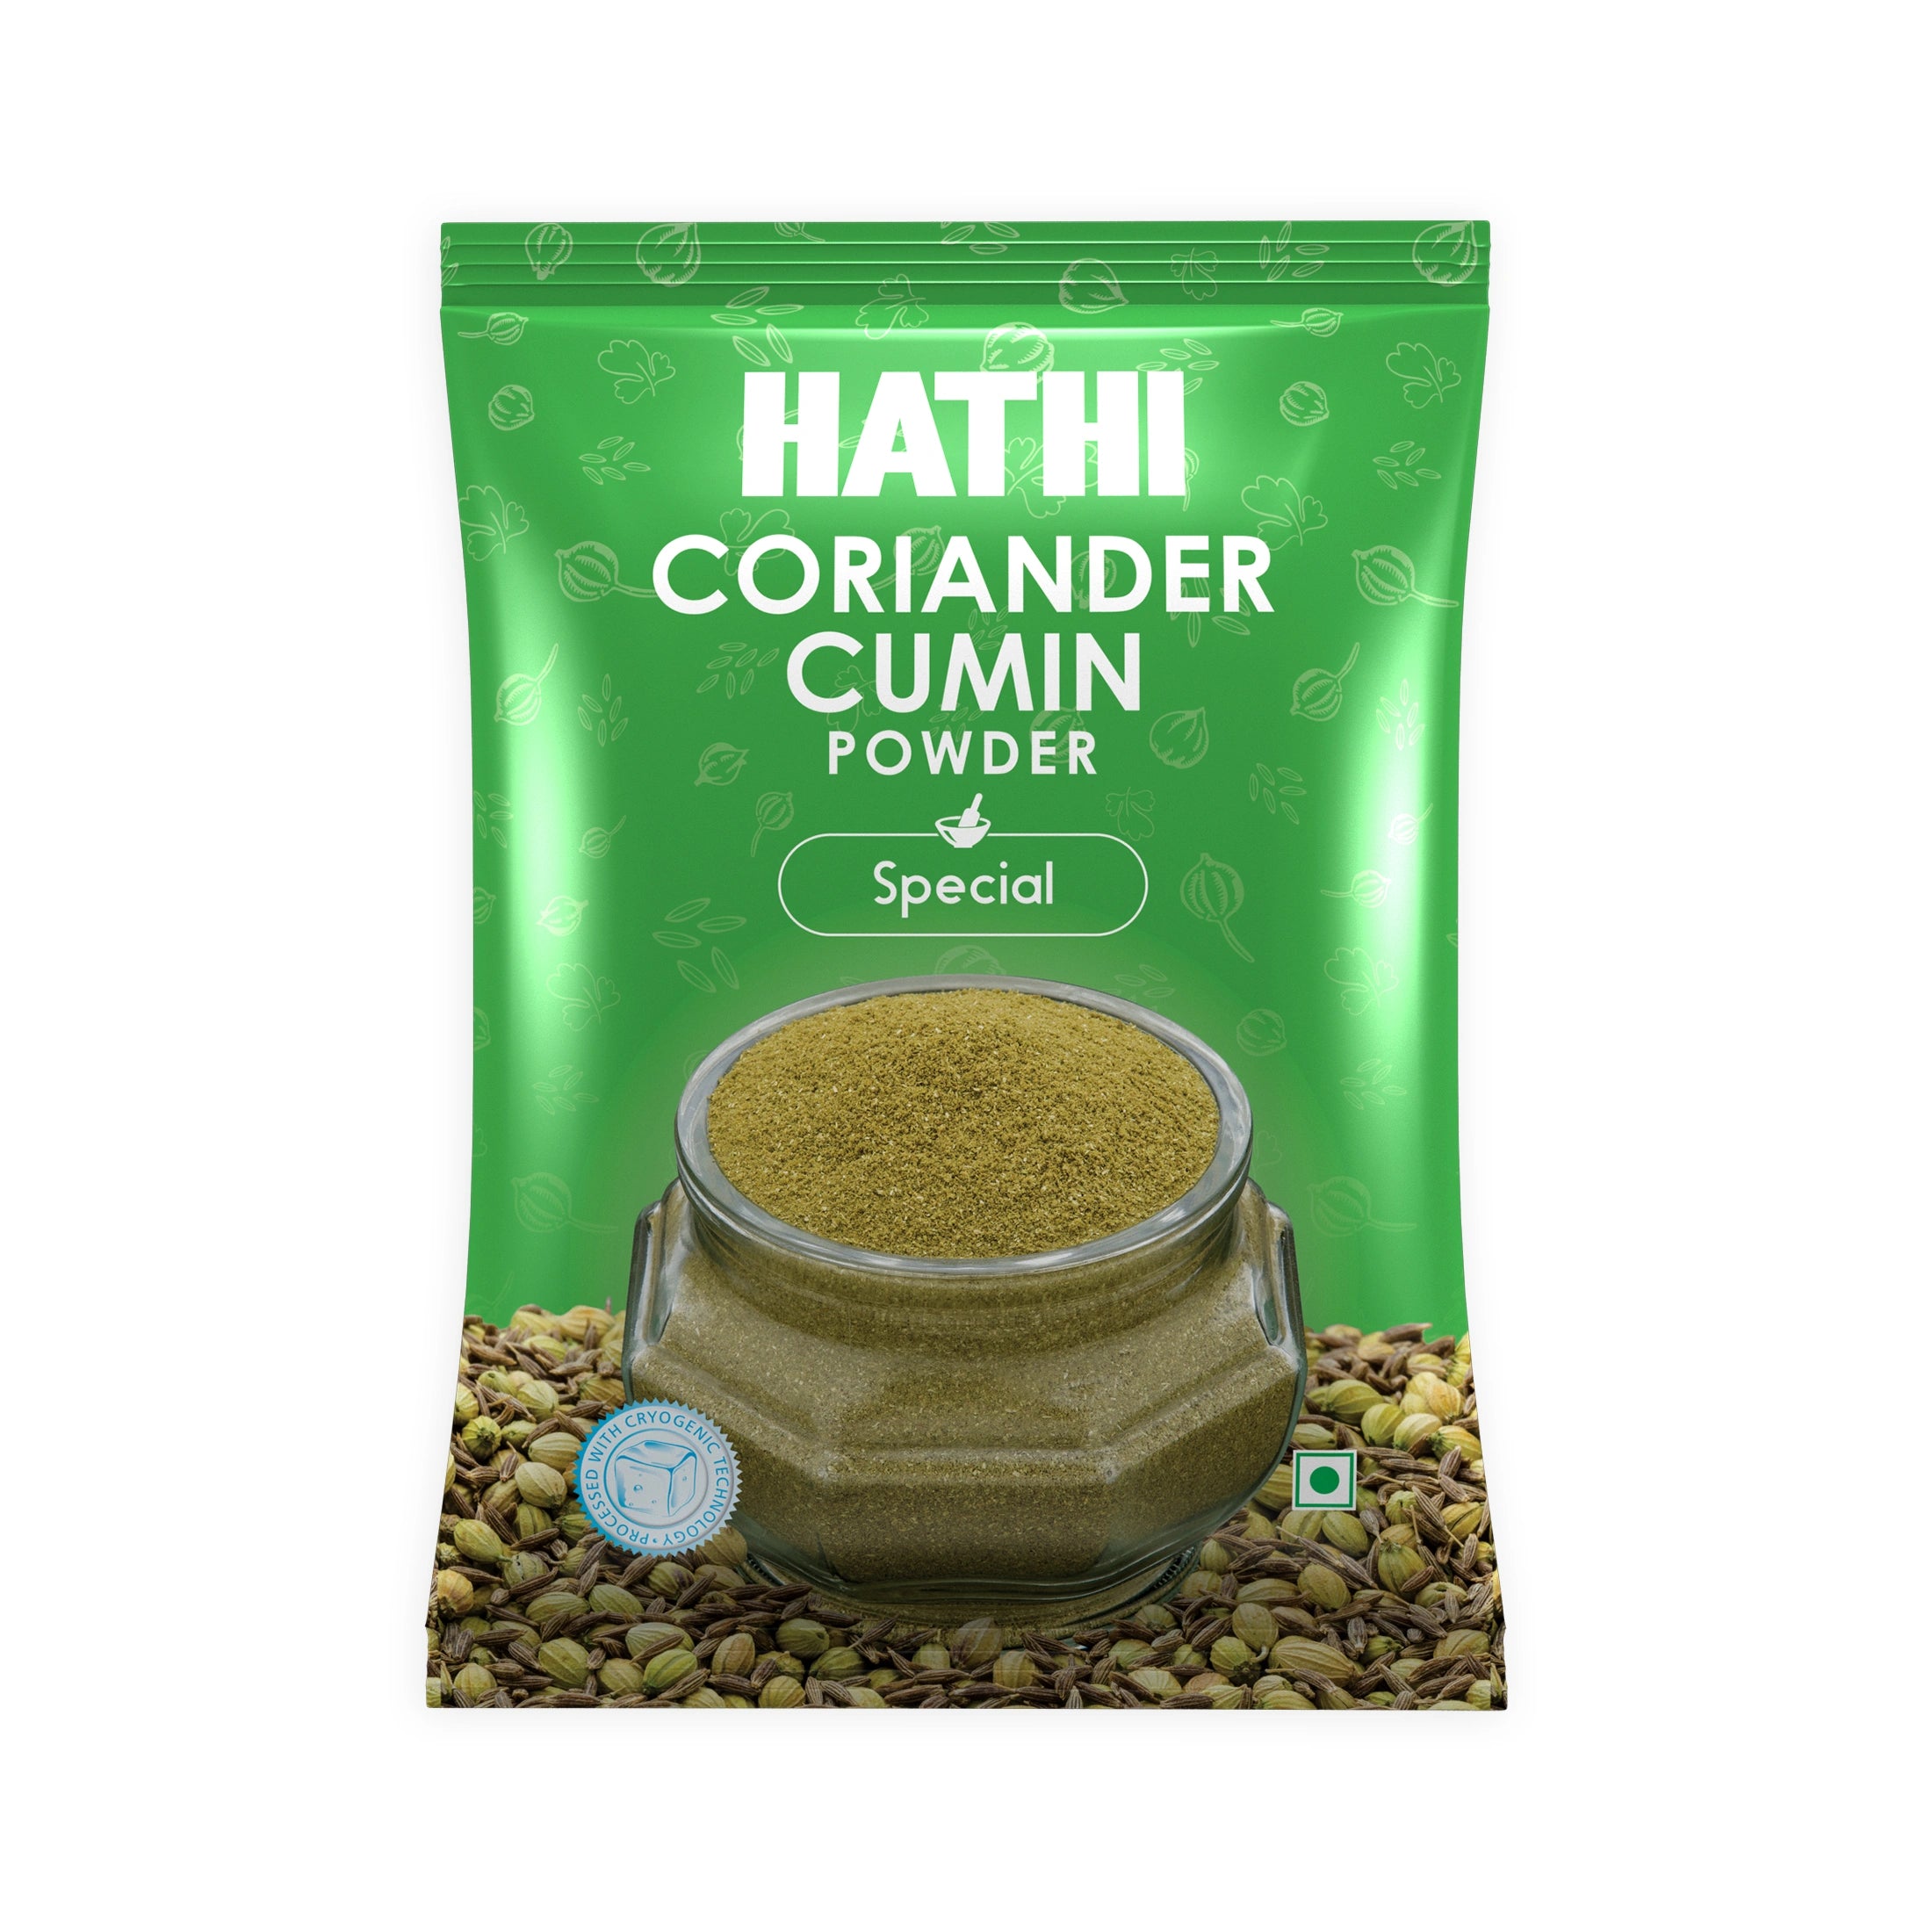
- 1.5 teaspoons hathi coriander-cumin powder
- 1 teaspoon hathi garam masala
- 0.5 teaspoon hathi aakhri masala
- Salt to taste
- 0.5 teaspoon sugar
For the curry:
- 250g paneer cubes
- 1 cup fresh peas
- 1 teaspoon crushed kasuri methi
- Fresh coriander leaves
- 3 tablespoons fresh cream or malai
How To Make Matar Paneer

Step 1: Fry the paneer a little
Add 1 tbsp of oil or ghee to a pan, then add the paneer cubes and fry over medium-high heat for 2-3 minutes, until they turn light golden on all sides.
This step isn’t important, but it makes a real difference. Fried paneer doesn’t lose its shape in the gravy, giving a firmer, more satisfying texture. If you want soft paneer, then you can skip this step.
Step 2: Build the Masala Base
Heat 2 tbsps of oil in a pan or a heavy kadhai. Add whole spices like bay leaf, cinnamon, cardamom, and cloves. Let them crackle for 20-30 seconds. You will smell these whole spices as they open up.
Add the chopped onions along with slit green chilli. Cook them over medium heat until the onions turn a deep golden yellow, about 8-10 minutes. This is one of the most important steps in the entire recipe. Perfectly caramelized onions give the gravy its sweet, deep base.
Add the ginger-garlic paste and cook the masala base for 1 more minute.
Step 3: Cook the Tomatoes
Add the chopped tomatoes along with a pinch of salt. Cook the base over medium heat for 6-7 minutes, until the tomatoes are fully soft and the oil starts to separate from the edges of the pan.
Step 4: Cool and Blend
Turn off the heat. Remove bay leaf and cinnamon stick. Let the onion-tomato masala base cool for 5 minutes.
Add it to a blender along with a few soaked cashews. Blend it into a completely smooth paste. This step gives your home-style matar paneer a restaurant-style taste.
Step 5: Add the Spices
Cook the blended onion-tomato masala base for a few minutes. Lower the heat and add the powdered spices, such as turmeric, Kashmiri chilli, coriander-cumin, sugar, and salt.
Mix everything well, then cook for 3 minutes. The colour will deepen, and the masala base will smell roasted. If it sticks to the pan, sprinkle a small splash of water.
Step 6: Add Peas and Simmer
Add the green peas along with ¾ cup of warm water. Cover it and cook over medium-low heat for 8-10 minutes.
If you want thinner gravy, add more water. For a thick, restaurant-style gravy, keep the lid slightly ajar and simmer for the last 3 minutes.
Step 7: Add Paneer and Finishing
Finally, add the paneer cubes. Cook it for 2-3 minutes. Don’t overcook it as it makes the paneer rubbery and chewy.
Turn off the heat. Mix in the fresh cream and hathi aakhri masala. Crush the kasuri methi between your palms before adding; this releases its oils and adds restaurant-style flavours.
Step 8: Serve it Hot
Serve the dish immediately along with butter naan, roti, paratha, or jeera rice. Slicing an onion and a lemon on the side is the classic way to serve matar paneer.
Jain Matar Paneer
Don’t use the onion-and-ginger-garlic paste. Add the whole spices to hot oil along with a small pinch of hathi masala hing, and let them crackle for 10 seconds. Add a tomato-and-cashew paste as a base for the masala. Add the same masalas and continue from Step 5.
Quick Weeknight Version
You don’t need to blend the masala base. Finely chopping onions and tomatoes works. You need to cook them until they turn almost paste-like. The texture won’t be smooth, but it will give the same flavours. This version only takes 30 minutes.
Creamy Matar Paneer
You just have to add 2 extra tablespoons of fresh cream at the end, along with a small cube of butter and some crushed kasuri methi. This version tastes like Punjabi dhaba. Rich, heavy, and deeply satisfying.
Expert Tips
- Caramelize the onions perfectly. This step alone adds the biggest difference to the flavour. Raw onions make the gravy flat and thin. Golden-brown onions add the sweetness.
- Blend the gravy smoothly. The creaminess of the final dish depends on how smoothly you blend. Use a blender instead of a mixer; it gives a finer paste.
- Cook the tomatoes well. Cook it till the oil starts to separate. This removes the raw, tangy taste and gives a rich base to the gravy.
- Add paneer at last. Paneer needs just 2-3 minutes in the hot gravy. It becomes rubbery and chewy if you cook it longer.
Serving Suggestions
Matar paneer tastes much better when served hot. It pairs well with:
- Butter or plain naan. It scoops up the thick gravy beautifully
- Roti or paratha for daily meals
- Jeera rice or plain rice
- A bowl of dahi or raita on the side
For a family meal, serve it with a bowl of dal, some papad, and a tomato-cucumber salad with lemon slices and black salt.
Storage And Reheating
Fridge: Transfer leftover matar paneer to an airtight container. It stays fresh for up to 2 days, and you can eat it. The paneer absorbs some gravy overnight, so it tastes richer the next day.
Freezer: You can freeze the gravy without adding paneer for up to 1 month. Add fresh paneer while reheating. The texture of paneer changes after freezing. It becomes slightly grainy, so avoid freezing the paneer.
To reheat: Defrost the frozen gravy first. Warm it in a pan on a low heat with a small sprinkle of water. Stir it gently. Don’t heat on high heat. It makes the paneer tough, and the gravy dries out.
Leftover tip: You can use matar paneer as a filling for wraps and rolls the next day. Just chop the paneer into smaller pieces, stuff it with gravy into a roti or bread, and you get a quick lunch option.
Frequently Asked Questions
Q1: Can I make matar paneer without frying the paneer cubes?
Yes. It isn’t important to fry the paneer cubes. You can add the paneer directly into the gravy in Step 7. Its texture will turn softer, and the paneer cubes will absorb the masala more easily. Fried paneer only adds a slightly firmer, golden exterior. Both versions taste best.
Q2: Why does my matar paneer gravy taste tangy or bitter?
Tangy gravy means the tomatoes weren't cooked long enough; they’re still raw. Cook them until they turn pulpy, and the oil starts to separate from the edges. This method fully removes the raw, sour taste. You can also add a small pinch of sugar to help balance any leftover tang. Bitter gravy means you’ve overcooked the garam masala. Always add it after the blended paste.
Q3: How do I get that smooth, creamy restaurant-style gravy at home?
Blend the roughly cooked onion-tomato base along with the soaked cashews until completely smooth. This is the step most home cooks ignore. The smooth onion-cashew paste gives you restaurant-style matar paneer with a rich, creamy texture, without adding any cream.
Q4: What is the difference between matar paneer and palak paneer?
Both these dishes are North Indian curries, but they taste entirely different. Matar paneer is made with an onion-tomato masala base and green peas. It’s richer, deeper, and filled with spices. Palak paneer is made with blanched spinach paste. It's lighter and greener.
Q5: How much hathi garam masala should I use in matar paneer?
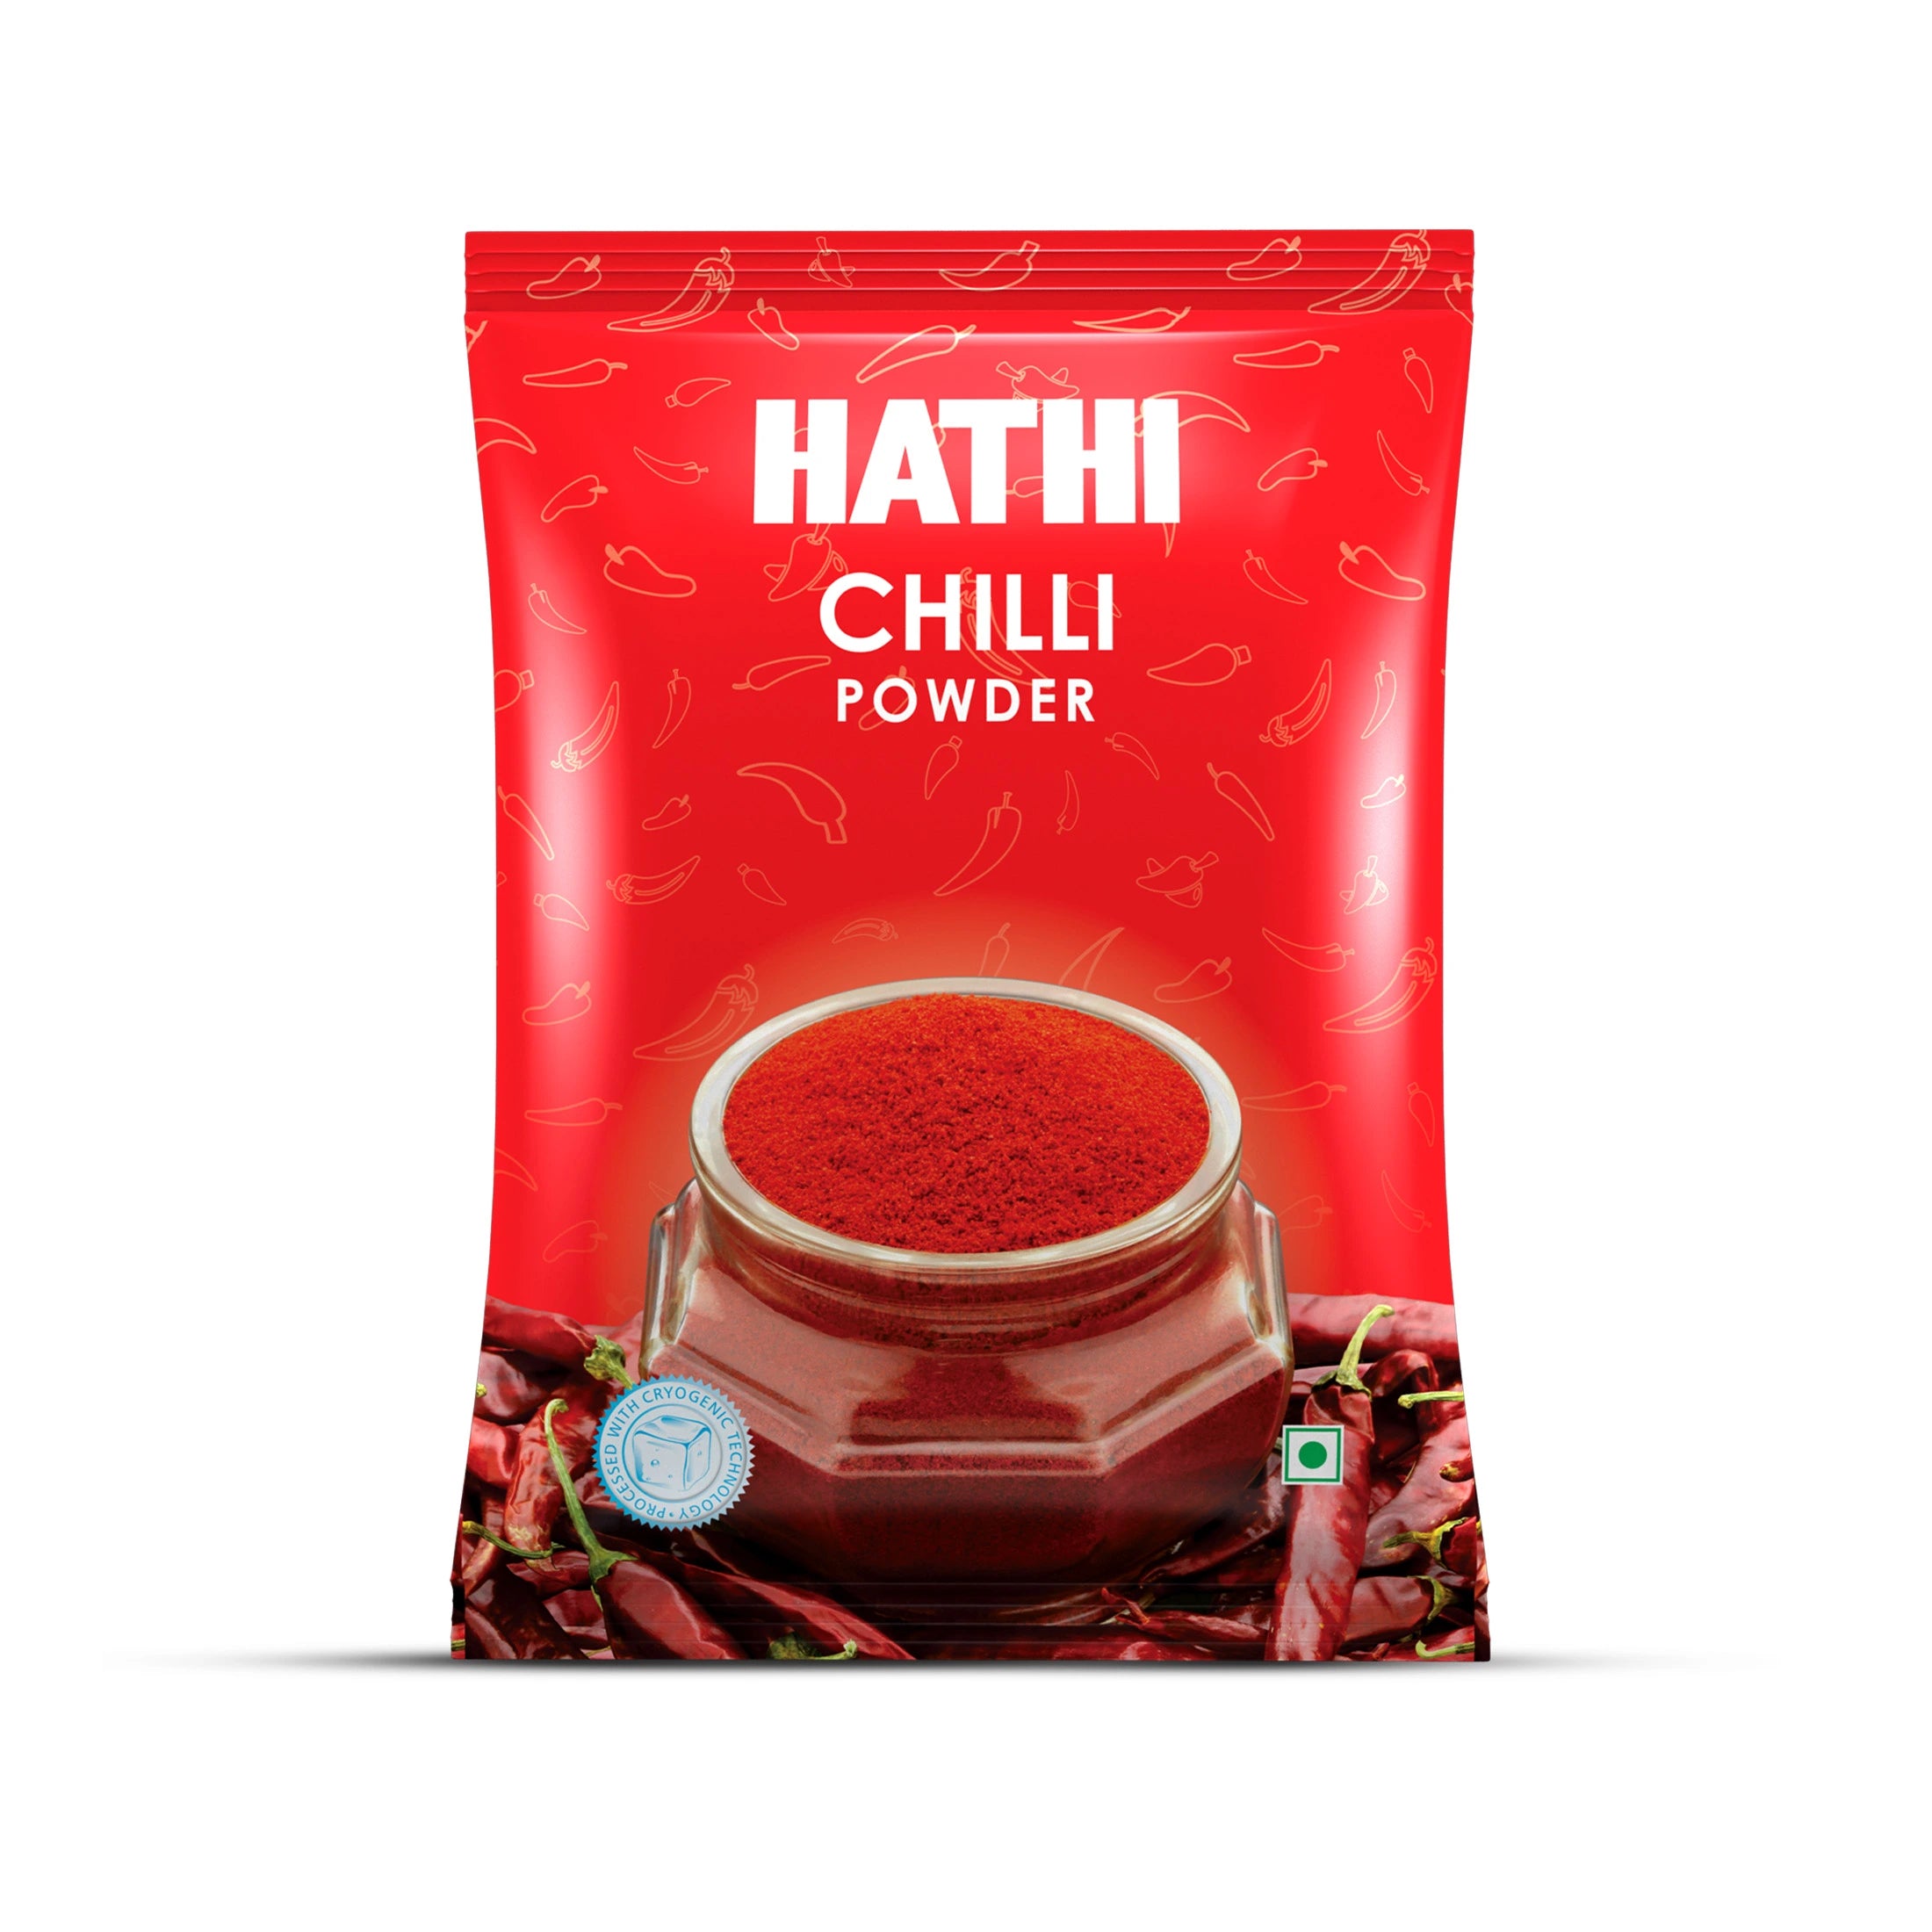
You should use 1 tsp for 4 servings first. Hathi masala is cryogenically ground, so it is stronger than regular brands. That’s why you should start with a little amount and adjust accordingly. Finish the dish by adding hathi aakhri masala to get the best fragrance.
Q6: Can I use frozen peas instead of fresh?
Yes, frozen peas go well in this recipe. There is no need to defrost them first. Add them directly to the gravy in Step 6. They cook perfectly within 6-8 minutes. Fresh peas taste slightly sweeter, but frozen peas are a good substitute year-round.
Q7: How do I keep paneer soft in the curry?
There are 2 options: 1st, don’t overcook the paneer in the gravy more than 2-3 minutes. 2nd, if you fry the paneer pieces, soak them in warm water for 5 minutes before adding them to the gravy. This makes them soft and spongy inside, even after cooking.
Q8: Can I make matar paneer in advance for guests?
Yes. Prepare the masala base a day before and freeze it. Defrost and reheat the gravy before serving. Add fresh peas, cook for 8 minutes, then add paneer and finish with heavy cream and roughly crushed kasuri methi. This way, you need to spend only 15 minutes in the kitchen when guests arrive.