









Pav Bhaji Recipe (Mumbai Street Style with Red colour Secret)
 Sagar Dubal

20 May 2026
Pav bhaji is a thick, buttery vegetable curry usually served with soft pav or bread. This Mumbai street-style Pavbhaji recipe gives you that same hot, spicy taste at home. The actual secret behind this bhaji isn’t many spices. It’s just Hathi Pav Bhaji Masala, which combines everything in the right proportions, so you don't need to measure eight spices separately.
The dish was invented in Mumbai's textile mills, where the workers needed a quick, filling meal during short lunch breaks. It started as a worker's lunch and has now become one of Mumbai's most famous street foods. Now you can easily make it fresh on your own, and it tastes exactly like the street vendors'.
Why You Will Love This Mumbai Style Pav Bhaji Recipe
- It gives the same buttery, spicy, red-coloured taste as real Mumbai street food, but it’s made fresh at home in your own pan.
- You only need Hathi Pav Bhaji Masala; it does all the work.
- It’ll be ready in around 40 minutes, and most of the time it just cooks on its own.
-
Convenient to make the Jain version (without onion and garlic)
Ingredients for Mumbai Style Pav Bhaji Recipe
This pav bhaji recipe serves 4 people.
Vegetables to boil:
- 3 medium-sized potatoes
- 1 cup cauliflower
- 1/2 cup green peas
- 1 carrot, chopped (optional)
For the bhaji:
- 2 tsps Hathi Pav Bhaji Masala, which adds the main flavor.
- 4 tsps butter
- 2 large onions, finely chopped
- 1 red capsicum (bell pepper), finely chopped. It adds the natural red colour
- 3 large tomatoes, finely chopped (or make into puree by blending)
- 1 tablespoon ginger-garlic paste or use Hathi Garlic Powder
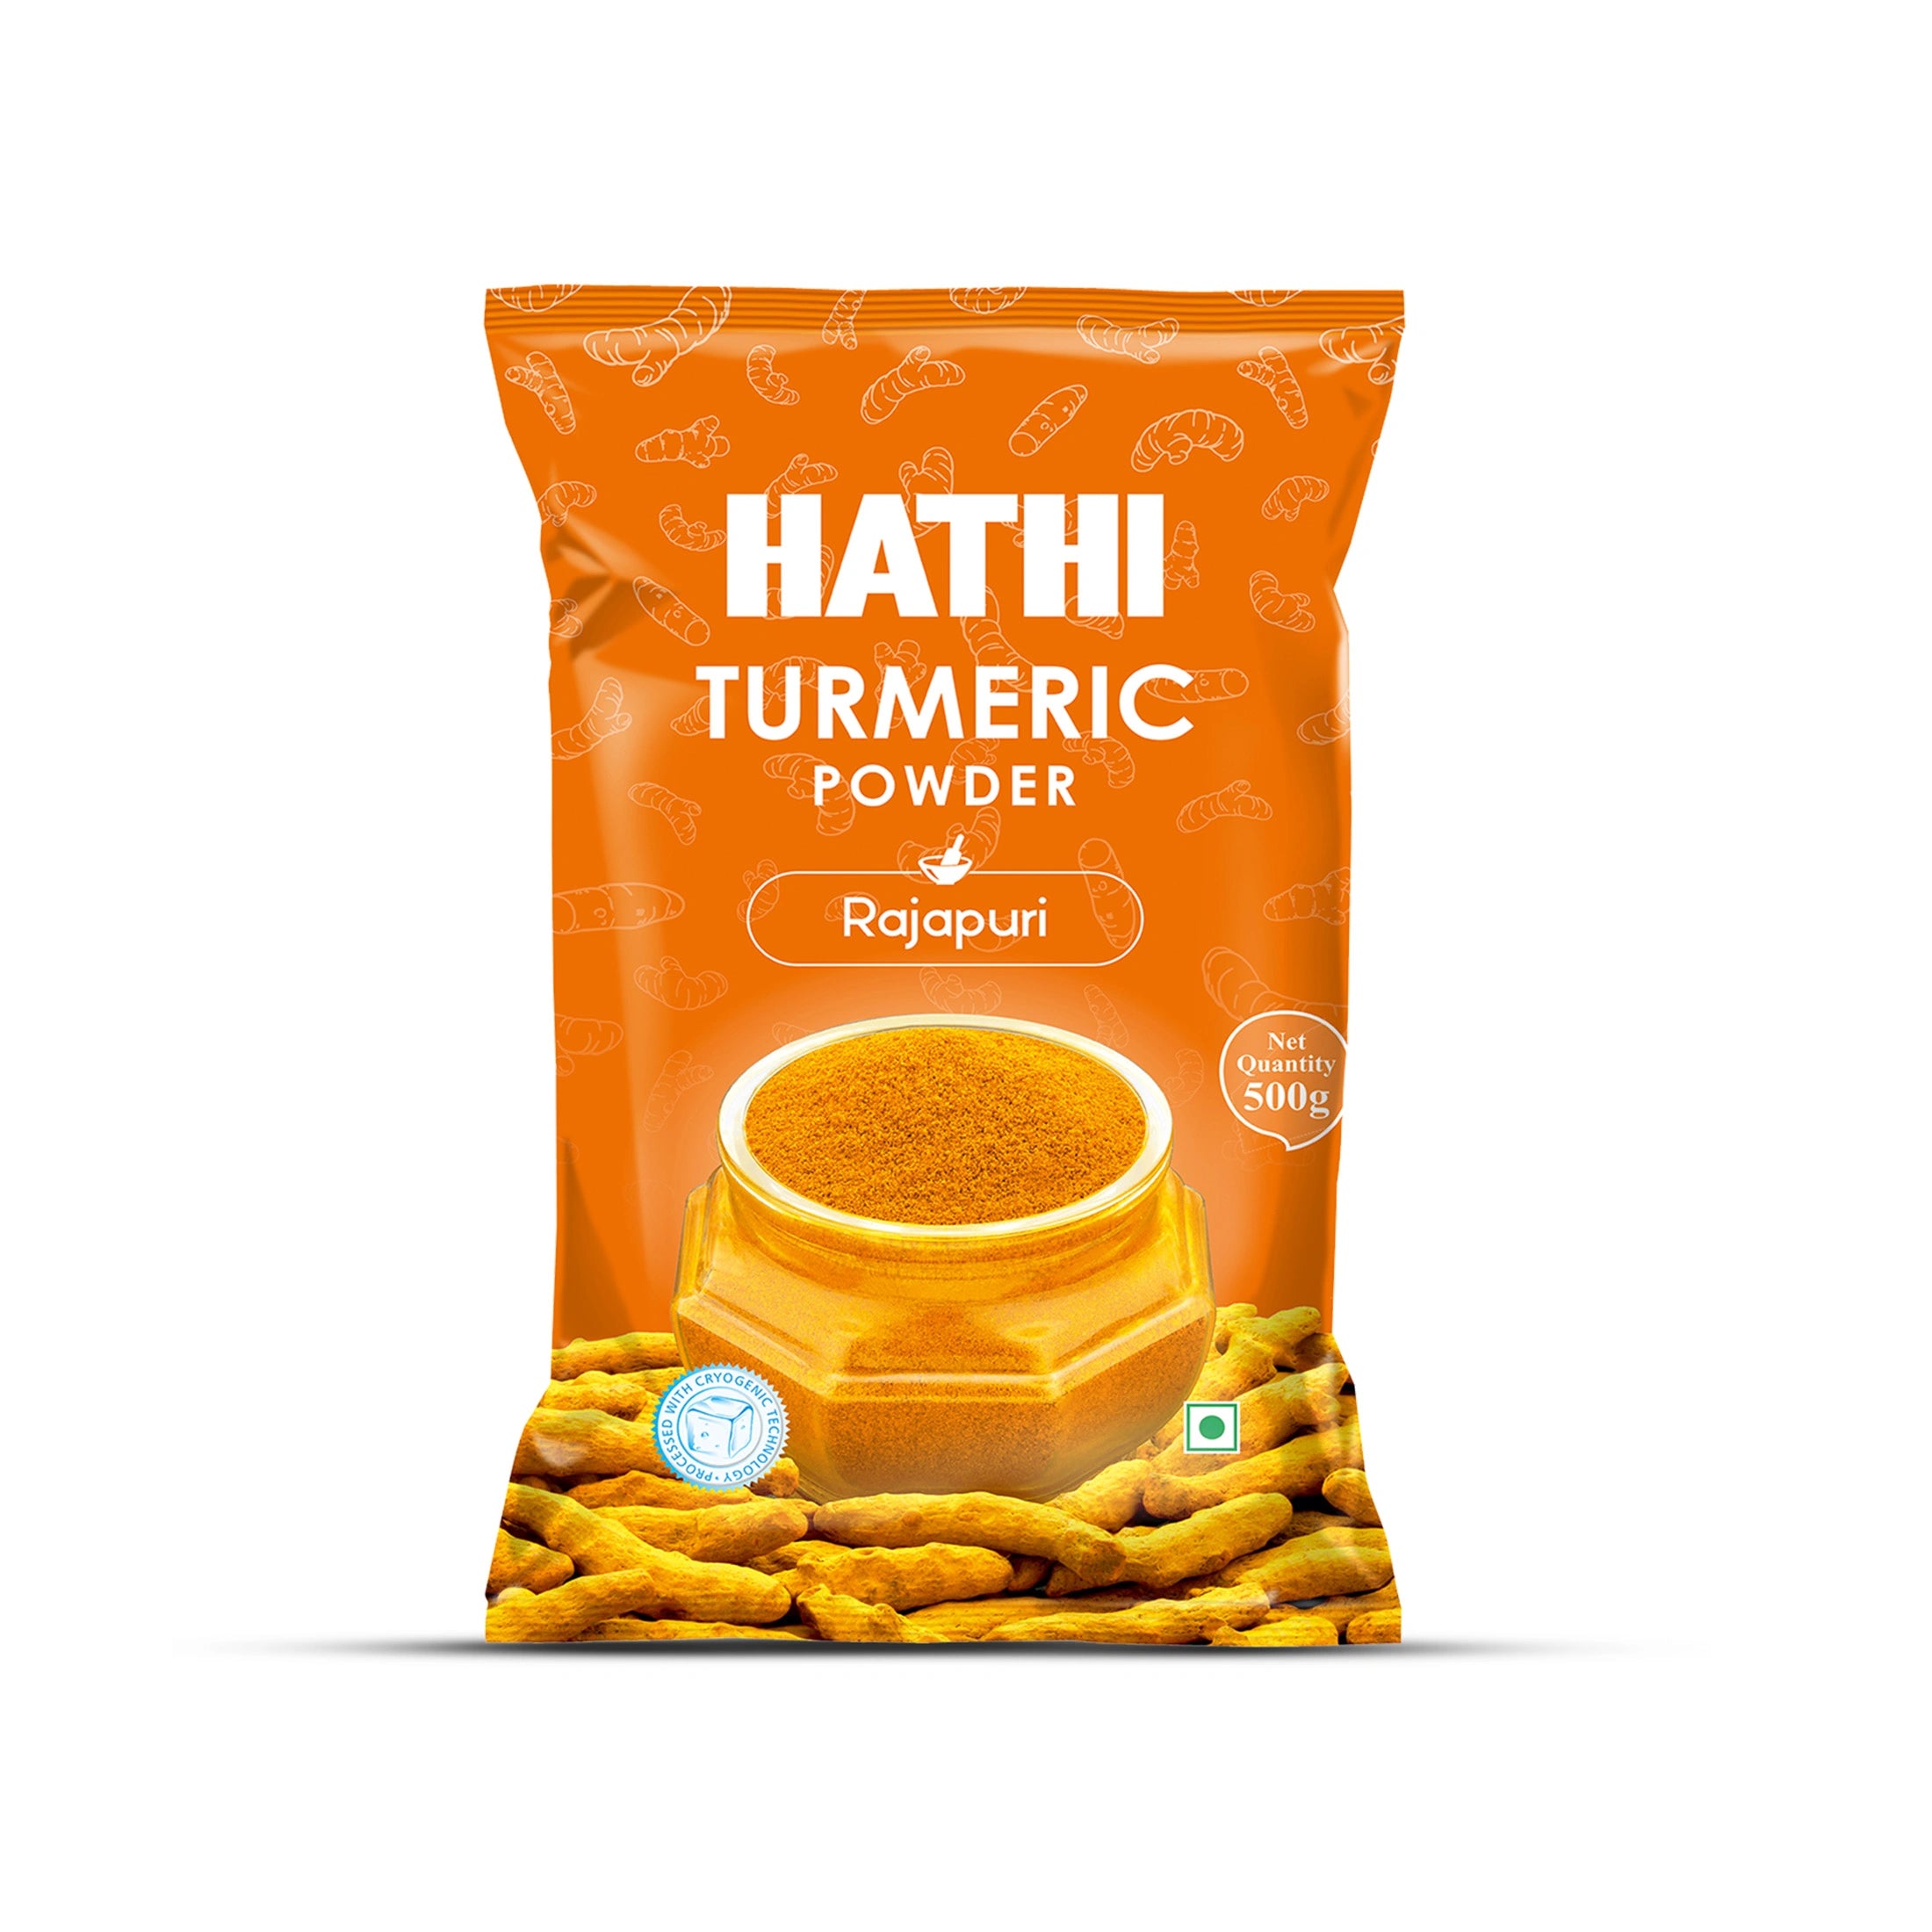
- 1/4 teaspoon Hathi Premium Turmeric Powder
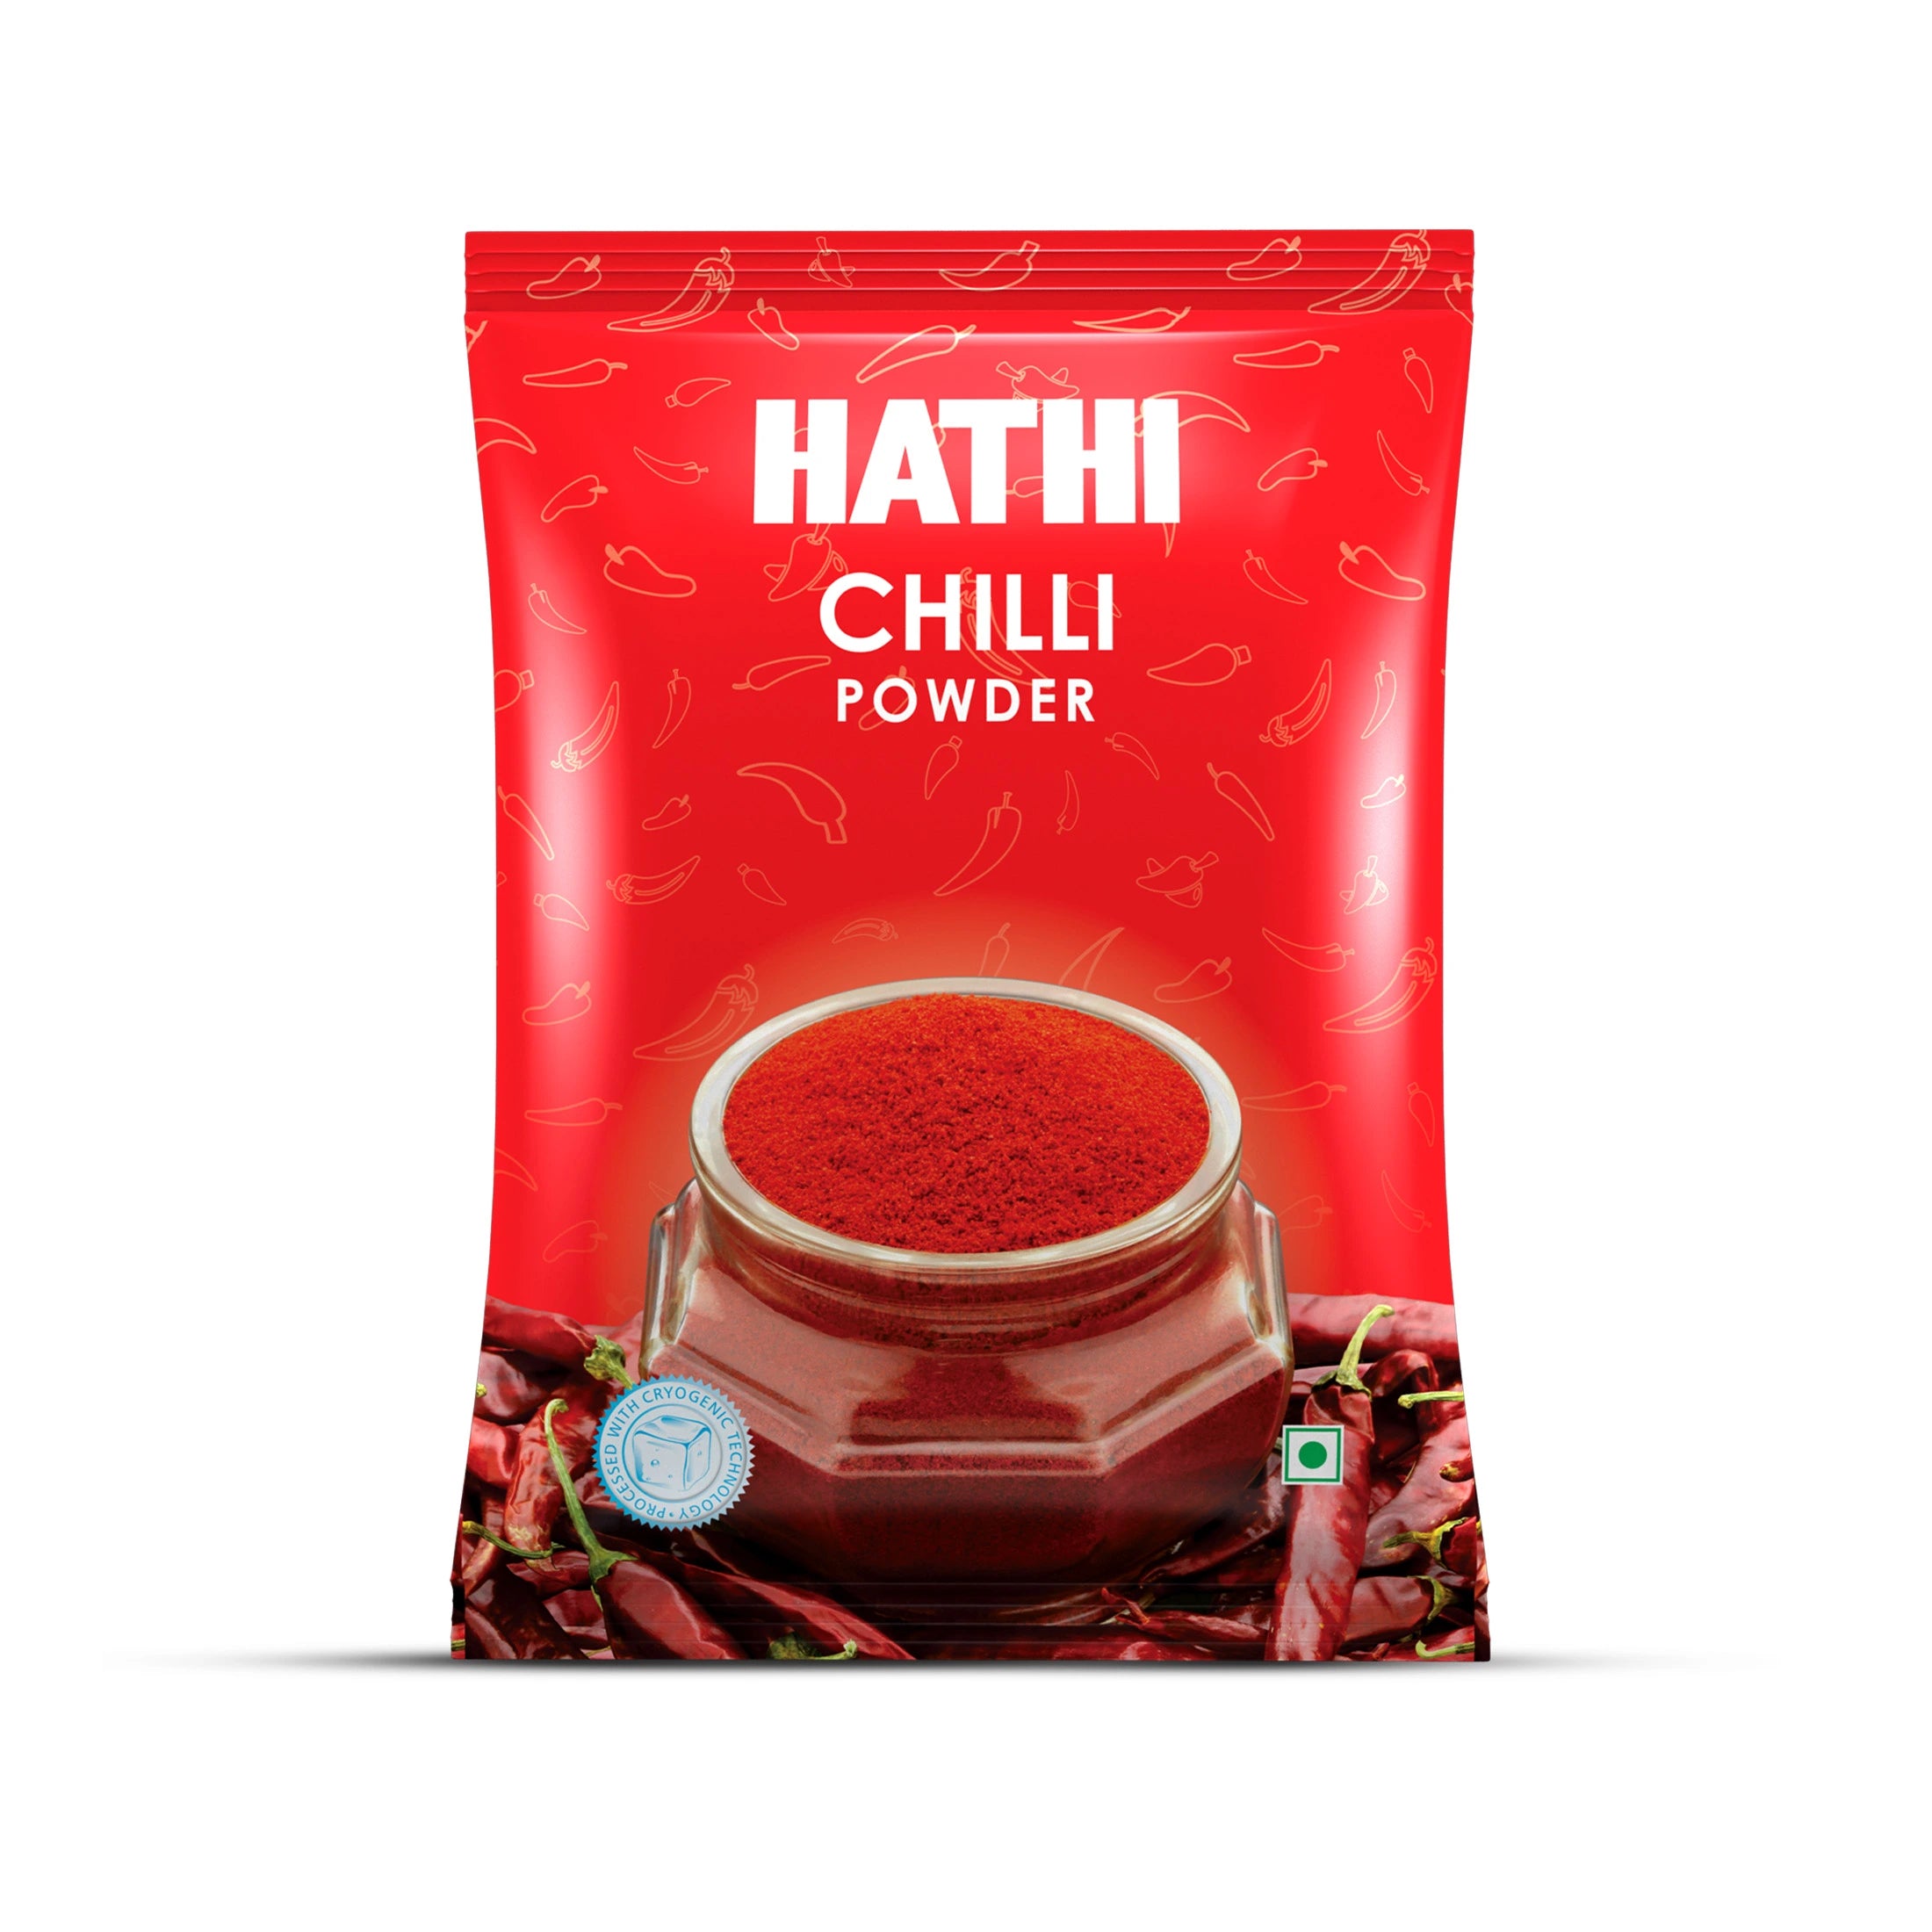
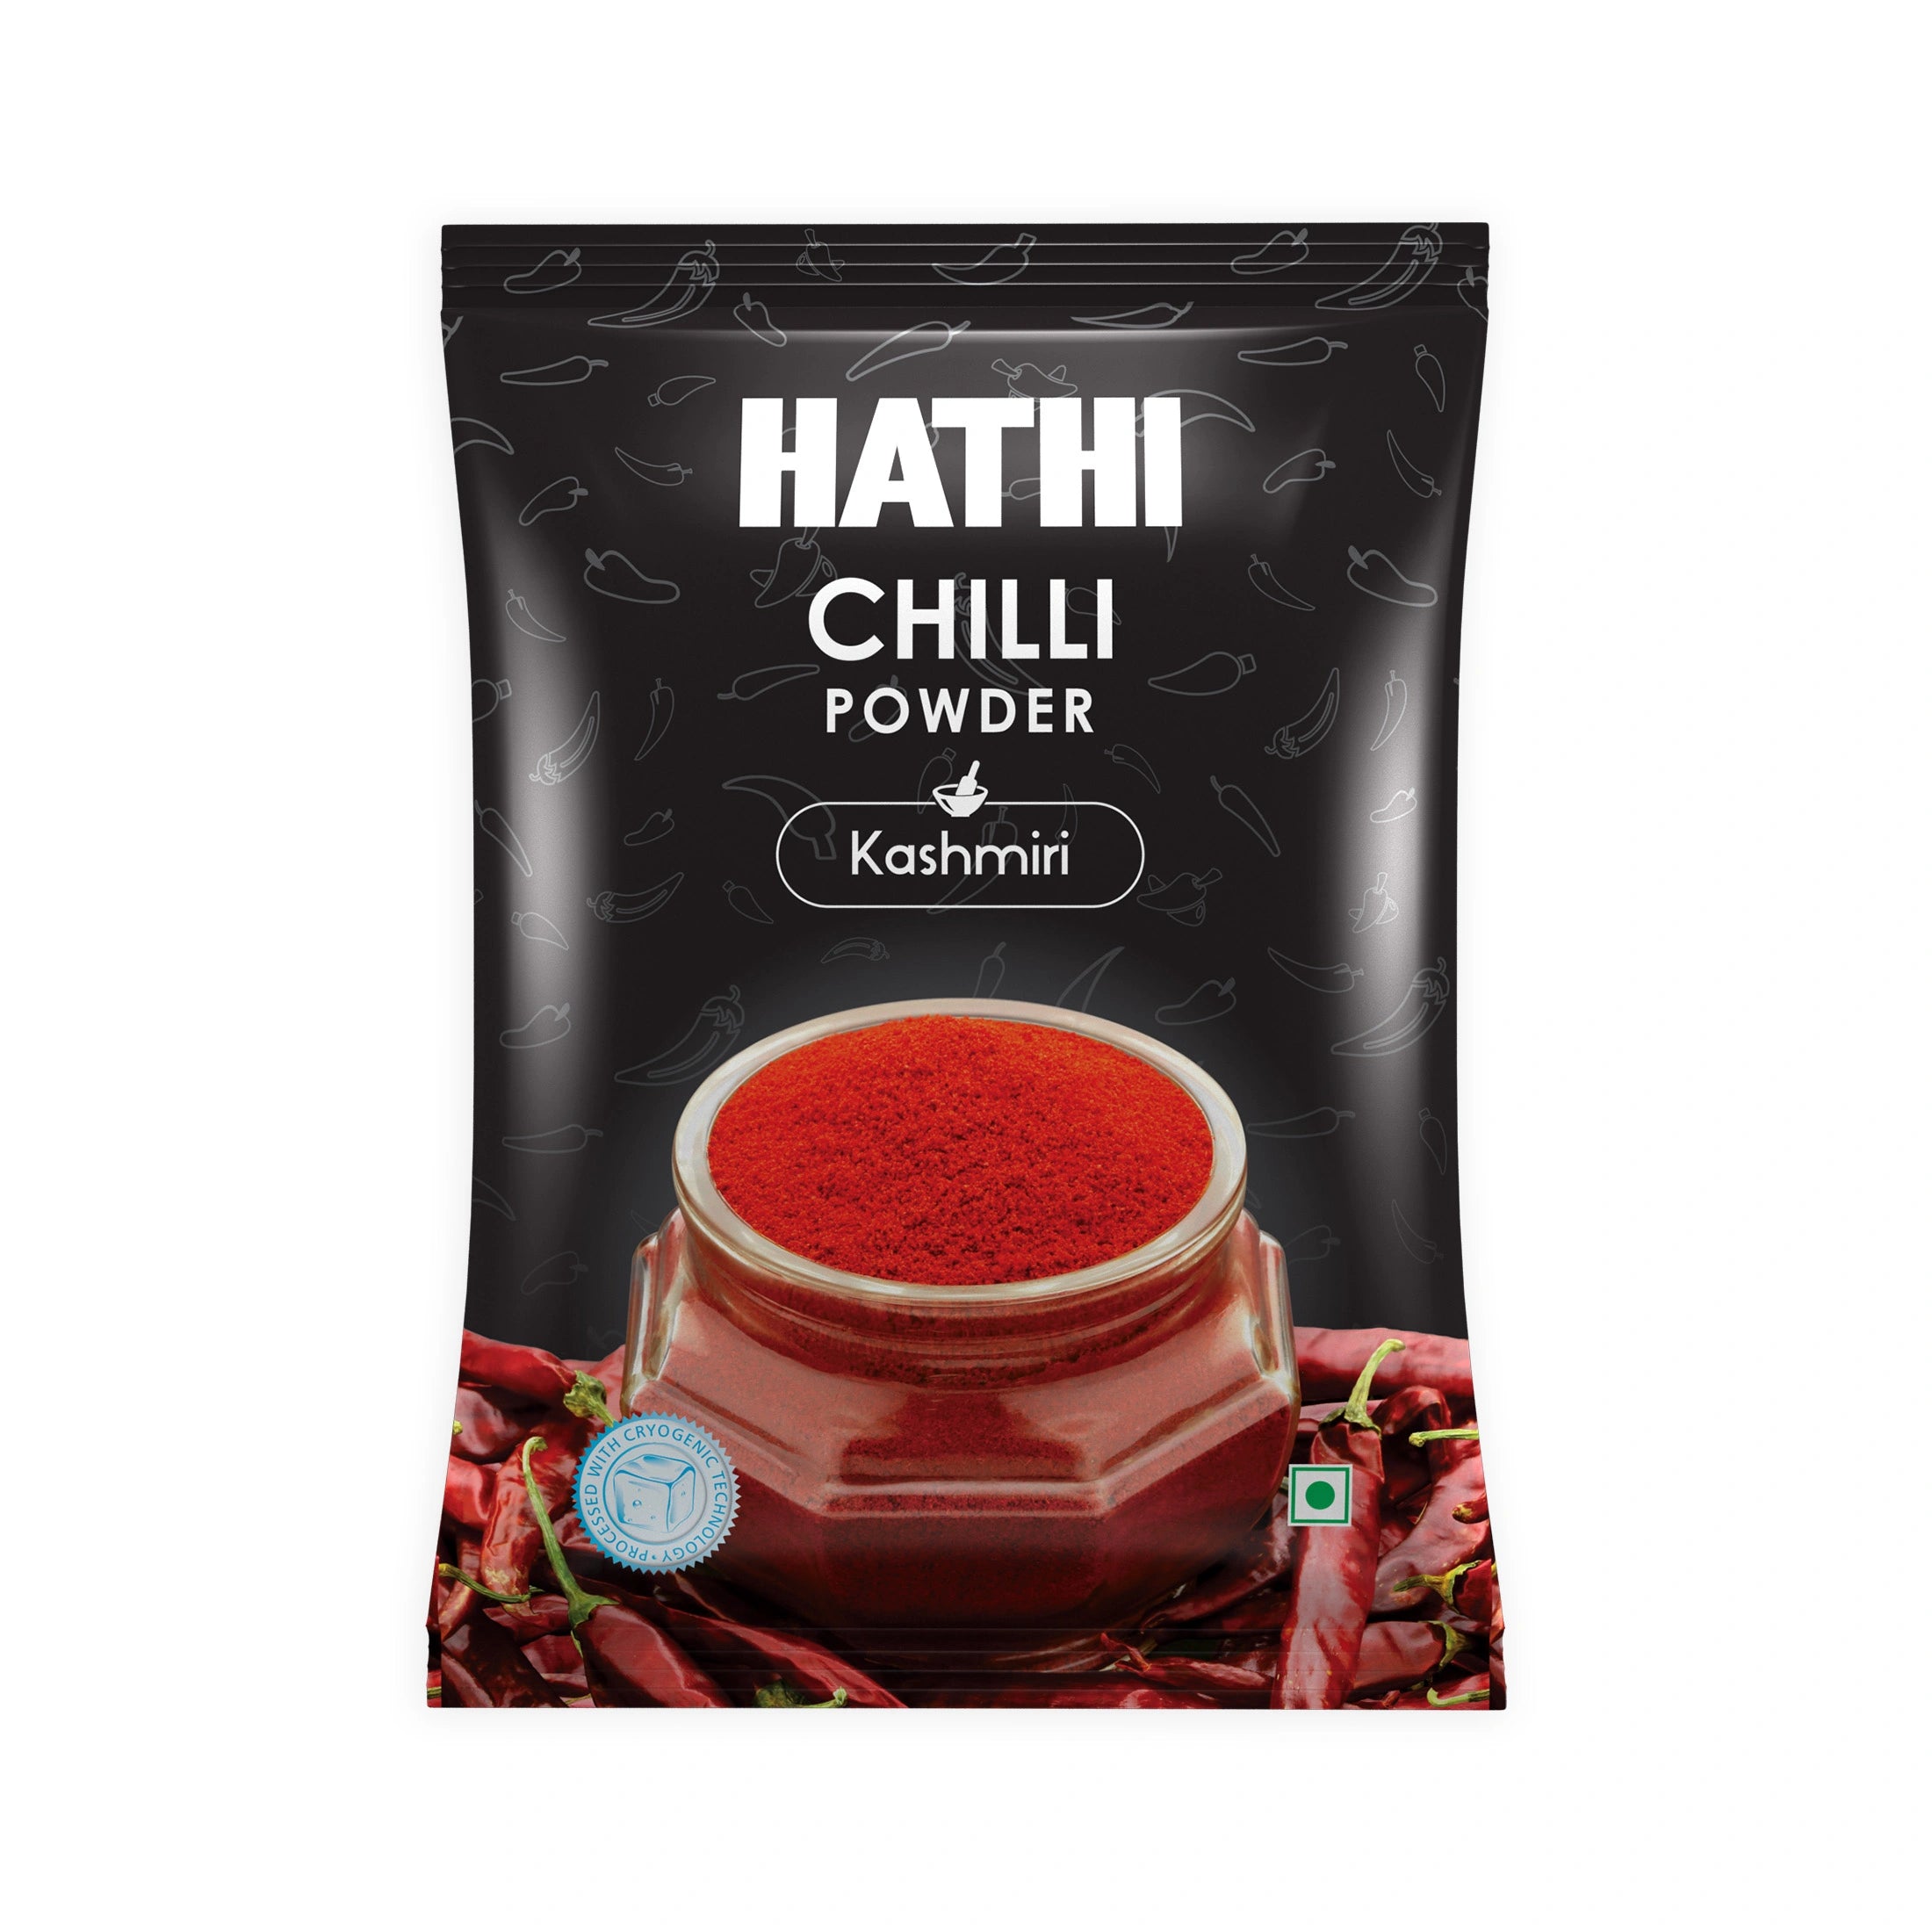
- 1 teaspoon Hathi Kashmiri Chilli Powder for bright red colour
- Salt, to taste
- 2 tablespoons lemon juice
- A little pinch of Hathi Asafoetida (Hing), if you’re making the Jain version (optional)
For serving:
- 8 pav
- Butter for toasting the pav
- 1 onion, finely chopped
- Fresh coriander leaves
- Lemon
Step-By-Step Pav Bhaji Recipe

Step 1: Boil the vegetables
Take the potatoes, cauliflower, peas, and carrots. Add them to a pressure cooker along with 1 cup of water and salt to taste. Boil them for 3-4 whistles, until the vegetables turn tender. Open the lid and mash them well. Keep it aside in a bowl.
If you don’t have a pressure cooker? Boil the vegetables in a regular pot for 15-20 minutes, then drain the extra water and mash them well.
Step 2: Heat butter and cook onions and capsicum
Heat 2 tablespoons of butter in a wide kadhai. Add the chopped onions and cook over medium heat until they turn light brown and soft. Then add the ginger-garlic paste and the red capsicums. Cook it until the capsicum turns slightly soft.
Step 3: Cook the tomatoes until mushy
Add the chopped tomatoes or puree with a pinch of salt. Cook the gravy over medium heat for 5-6 minutes. Let it cook until the tomatoes soften and become pulpy, and the butter starts to separate. This is a very important step; don’t rush it, because the raw tomatoes can make the bhaji taste bitter.
Step 4: Add the masalas and mix well
Reduce the flame to low-medium. Add the Hathi Turmeric Powder, Hathi Kashmiri Chilli Powder, and 2 tablespoons of Hathi Pav Bhaji Masala. Mix everything together, then cook for a minute to let the spices develop flavor and mask the raw smell. The gravy will become rich in colour. If it sticks to the pan or tava, add a splash of water.
Step 5: Add the mashed vegetables and water
Add the mashed vegetables to the gravy, along with 1-1.5 cups of water, depending on the desired thickness. Mash everything together directly in the pan. Keep mashing while cooking the mixture for an additional 5-8 minutes. This is an important step to get that street-stall texture.
Step 6: Simmer and finish
Reduce the heat and cook for about 8-10 minutes without the lid. Stir it every 2 minutes to prevent it from sticking to the bottom. You’ll get a glossy, thick bhaji. Add the remaining butter, lemon juice, and the chopped coriander. Turn off the gas. Your bhaji is ready.
Step 7: Toast the pav
Heat a flat tava on medium flame. Spread a little butter on it, then sprinkle a pinch of Hathi Pav Bhaji Masala over the butter. Cut the pav in half and toast them on both sides until it becomes light golden and soft.
Step 8: Serve hot
Serve the bhaji hot with a small cube of butter on top. Serve the toasted pav on the side, along with chopped onion, coriander leaves, and a lemon wedge. Squeeze the lemon over the bhaji, and eat while everything is hot.
Pav Bhaji Recipe Variations
There are many types of pav bhaji popular in Indian households. Such as:
Kali Pav Bhaji / Black Pav Bhaji
Prepare the pav bhaji using the same recipe mentioned above. Use 1-1.5 teaspoons of black pepper powder instead of the Kashmiri chilli powder along with the pav bhaji masala in Step 4.
Black pepper powder gives your bhaji a dark black colour along with a sharper, smokier heat instead of that authentic red, tangy flavour. This is a popular twist many Mumbai street stalls serve, and it works well for people who love spicier, more intense dishes.
Jain Bhaji (without onion and garlic)
Skip the onion and ginger-garlic paste. Add a small pinch of Hathi Asafoetida (Hing) directly into the butter at the beginning and let it cook for 10 seconds. Then add the capsicums and continue with the remaining steps. This version is popular in Jain households.
Cheese Bhaji
Make the bhaji using the same method given above. Grate some fresh cheese just before serving, over the hot bhaji. The grated cheese melts into the bhaji, making it creamy. Children love this variant.
Paneer Bhaji Version
Crumble 200g of paneer and add it to the bhaji during Step 5, along with other mashed vegetables. Mix them well, then cook for 2-3 minutes. The paneer will absorb the flavors, making your bhaji more filling.
Without a pressure cooker
Boil your preferred vegetables in a regular pot with water for 15-20 minutes, until they become tender. Drain the extra water and mash the vegetables well. Continue from Step 2 as given in the recipe mentioned above.
Expert Tips for the Perfect Pav Bhaji Recipe
- Mash a lot. You will get the smooth, creamy texture only if you mash the vegetables well. The more you mash them, the better the taste.
- Don’t skip the butter. The secret to street-style pavbhaji is generous use of butter. They get their taste from butter during cooking and on top while serving.
- Cook the tomato gravy properly. Wait until the tomato turns soft and pulpy before adding the masala. Raw tomatoes will make the flavour of the bhaji taste tangy.
Some Suggestions to Serve Pav Bhaji
Many Indian families serve pavbhaji with:
- A fresh cold buttermilk (chaas) or refreshing cold drinks
- Some extra chopped onion, tomato, coriander, and lemon as a salad
- Any sweet, such as gulab jamun or rasgulla, during the house parties
Storage And Reheating
- Fridge: You can store the leftover bhaji in an airtight container for up to 3 days. Keep the container in the refrigerator. The flavour gets even better the next day.
- Freezer: You can freeze the bhaji and store it for up to 1 month. Defrost it overnight before reheating.
- To reheat: Warm the defrosted bhaji over medium heat with a little water and a piece of butter. Mix it well, and the texture will become as good as fresh. Toast the fresh pav right before serving so they stay soft and warm.
- Tip: Leftover bhaji works perfectly for making masala pav the next day by stuffing the bhaji between a pav.
Frequently Asked Questions
Can I make this pav bhaji recipe without a pressure cooker?
Yes. You can boil the vegetables in a regular pot until they are tender, for 15-20 minutes. Drain the excess water and mash the vegetables well. Then continue with step 2 of the recipe as normal. The total cooking time will be almost the same.
How do I get the deep red colour of street-style pav bhaji?
For the rich red colour, use good-quality Kashmiri chilli powder, ripe red tomatoes, and a finely chopped red capsicum (bell pepper). Mix all these ingredients, then cook the masala slowly in oil/butter so the natural colour releases fully.
Should I use Kashmiri or regular chilli powder?
Use Kashmiri chili powder for a rich red color. This chili powder produces a deep, bright red color with very mild heat. Regular chili powder adds more spice and turns your bhaji an orange-brown color. Always use good-quality Kashmiri chili to get a natural red bhaji.
Can I use store-bought pav bhaji masala mix?
Yes. A good mixture saves your time and gives you a consistent flavour. Choose the masala mix made with whole spices and free from artificial colour or preservatives. Most Pav Bhaji Masala mixes contain multiple spices.
Which vegetables can I add to pav bhaji?
The base vegetables are potatoes, cauliflower, brinjal, and green peas. You can also add carrot, capsicum, or beetroot in large quantities to enhance taste and colour. Beetroot adds a rich, dark red colour along with mild sweetness. Avoid vegetables with strong flavours.
Can I make pavbhaji without using onion or garlic?
Yes, this is the Jain variant of pavbhaji. You don’t need to add the onion and ginger-garlic paste. Use a small pinch of Asafoetida (Hing) powder in the hot butter at the beginning, and let it cook for 10 seconds. Hathi Pav Bhaji Masala Mix delivers rich, bold flavor even without onion or garlic.
How can I make this pav bhaji recipe less spicy for kids?
You can make it less spicy bhaji with a deep red colour by using Kashmiri Chilli Powder and skipping the extra chilli powder. Add 1 tablespoon of fresh cream or malai at the end, right before serving. The colour of your bhaji stays deep and rich, but the spice level drops.
RELATED RECIPES YOU CAN TRY