









Easy and Quick Authentic Restaurant-Style Chana Masala Recipe
 Sagar Dubal

22 June 2026
Chana masala is a thick, spiced curry of chickpeas cooked in an onion-tomato masala base. The recipe mentioned below gives you that equal, deep, restaurant-style flavour at home in about 45 minutes. The secret isn’t a long list of spices. A good-quality garam masala like hathi garam masala does most of the work, so you don’t have to measure multiple spices one by one.
Every Indian kitchen has its own variant of chana masala. Some enjoy it in Sunday lunch, some for guests, and some just because there is a packet of kabuli chana sitting on the shelf. However you end up here, this recipe will not let you down.
What You Will Learn From This Chana Masala Recipe Blog:
- How to make chanamasala that actually tastes like the restaurant variant
- A perfect way to cook chickpeas so they turn soft but not mushy
- Which spices give the masala base its deep, rich flavour
- Different variants like Jain (no onion, no garlic) and a quick one using canned chickpeas
- How to serve and store the leftovers properly
Ingredients for Chana Masala Recipe
This chana masala recipe serves 4 people.
For the chickpeas:
- 1 cup whole dried kabuli chana (white chickpeas), soak them overnight, OR 2 cans of soft chickpeas
- 1.5 cups of water for pressure cooking
- Salt to taste
For the gravy:
- 2 tablespoons oil/ghee
- 2 large, finely chopped onions
- 3 finely chopped or blended ripe tomatoes
- 1 tablespoon ginger-garlic paste
- 1 green chilli
- 1 bay leaf
- 2 green cardamoms
- 1-inch cinnamon stick
- 2 cloves
- 1 teaspoon hathii garam masala
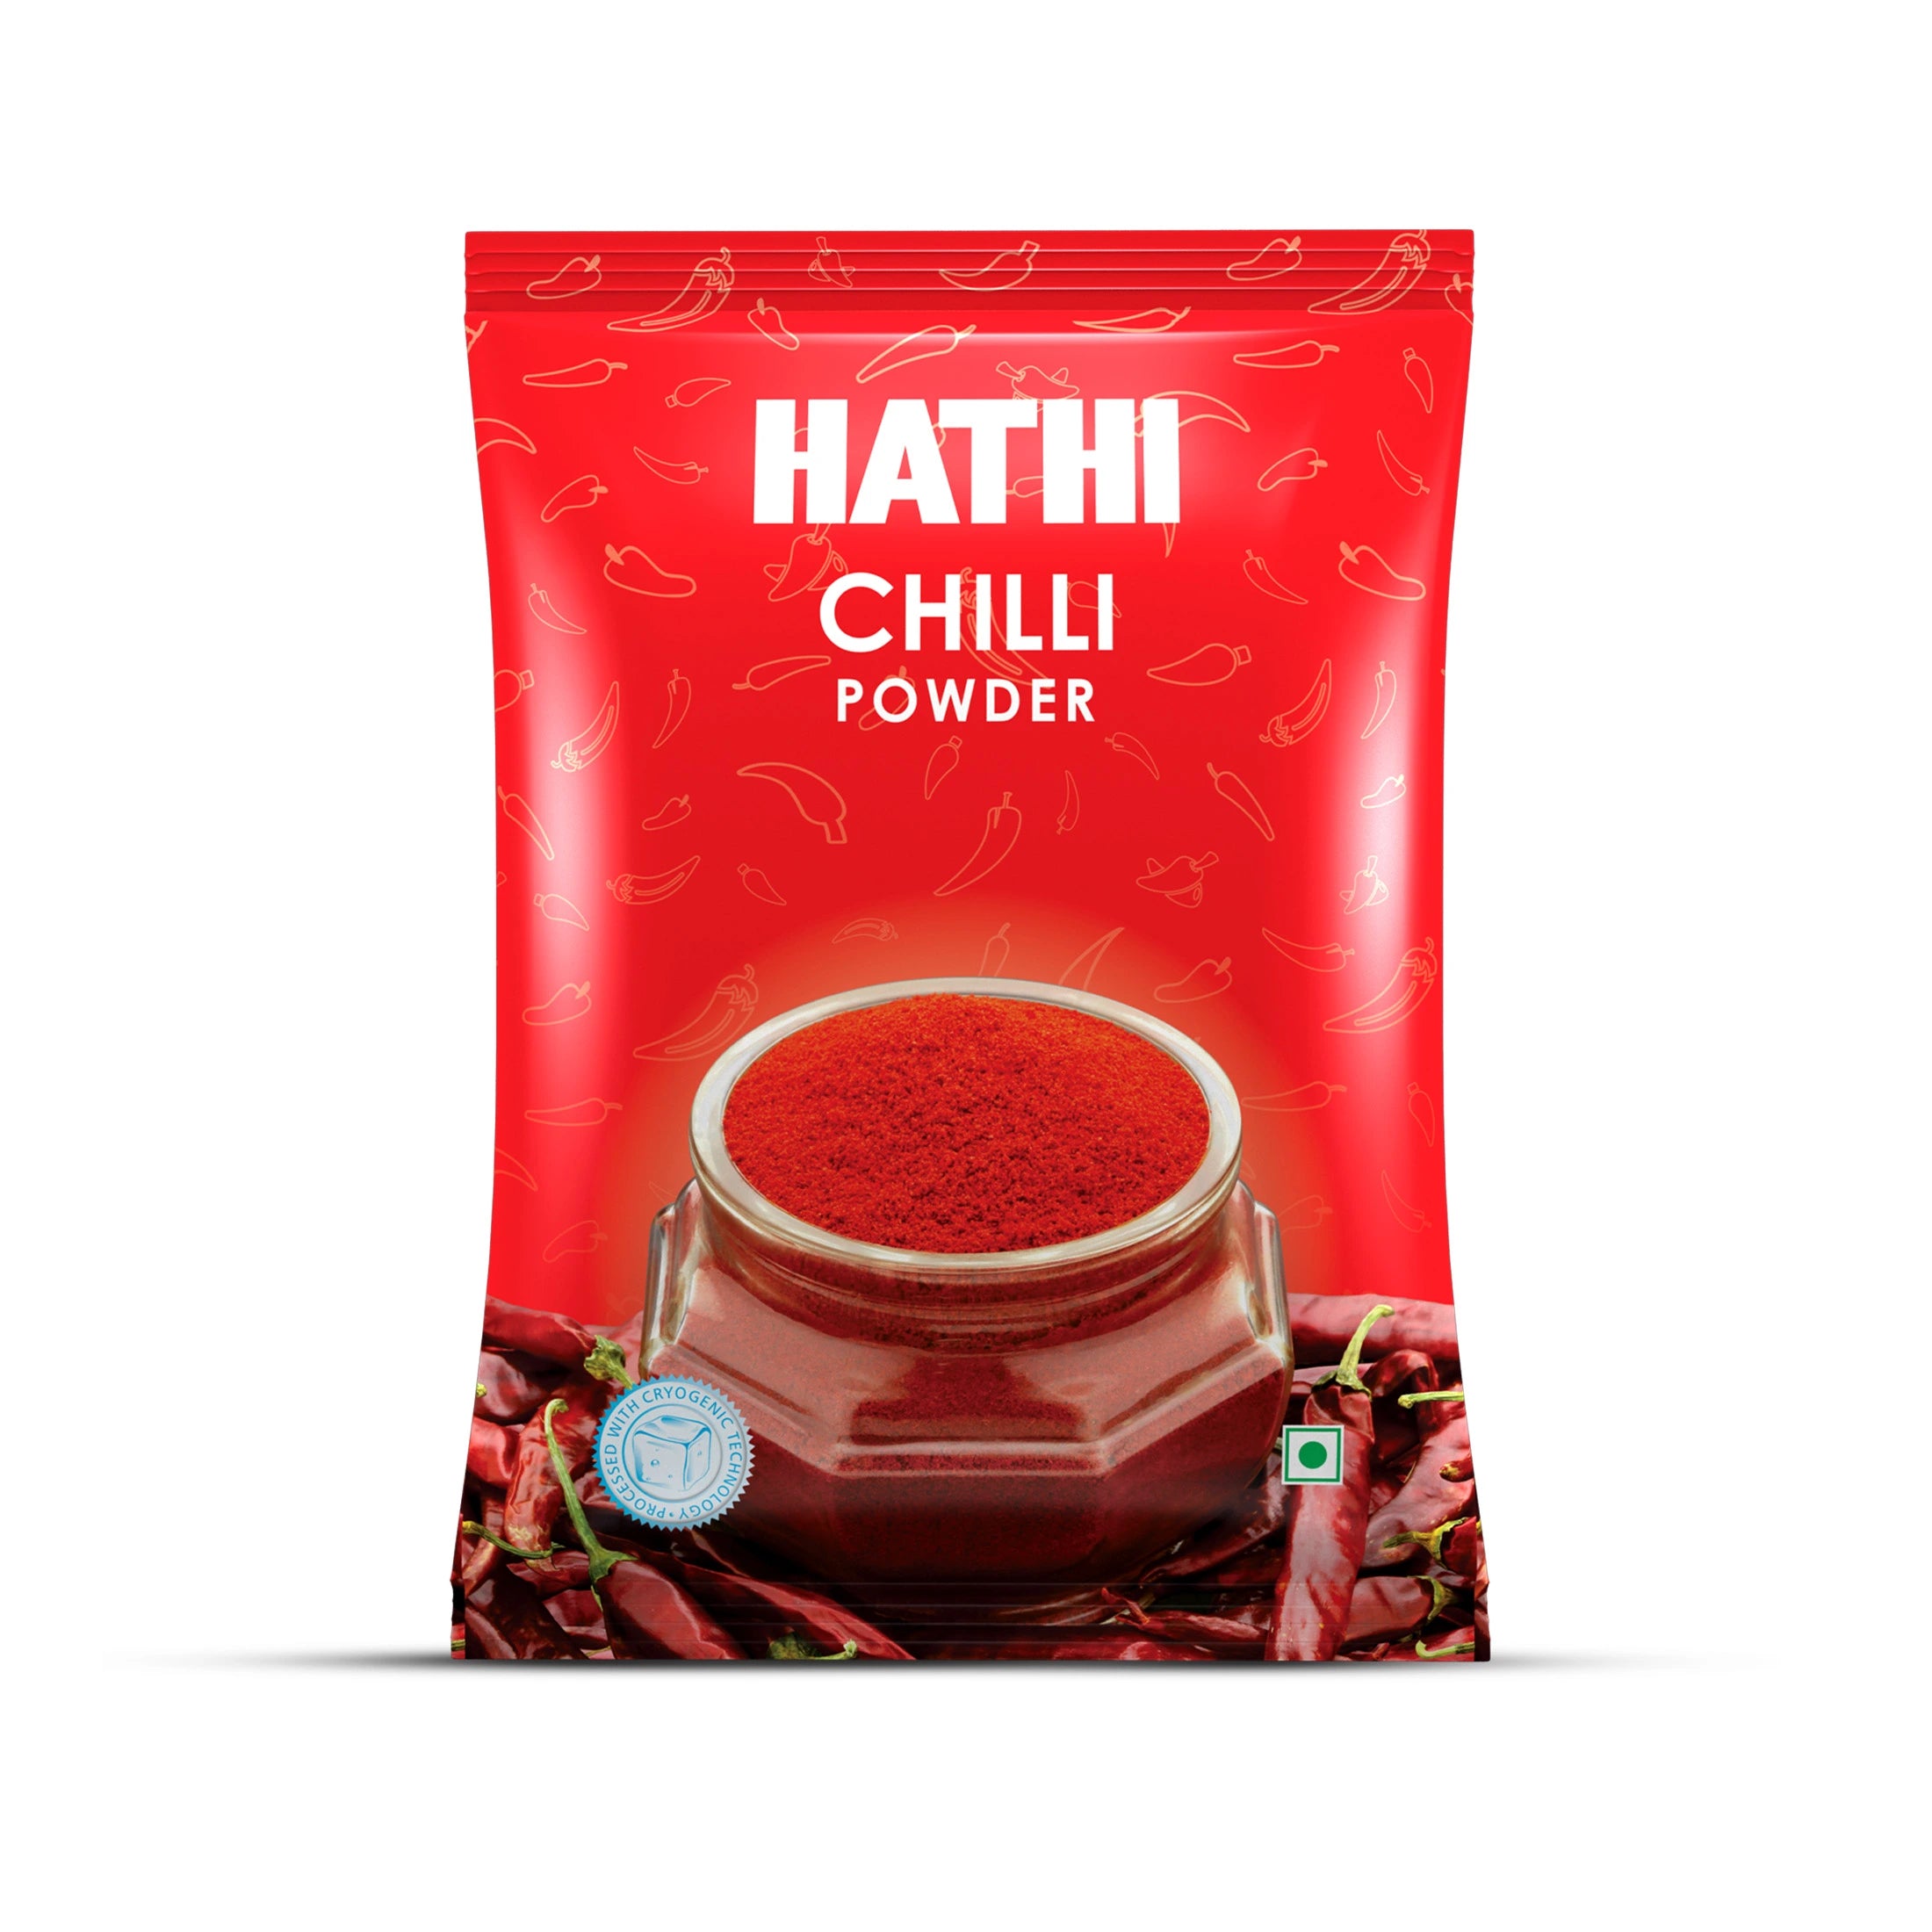
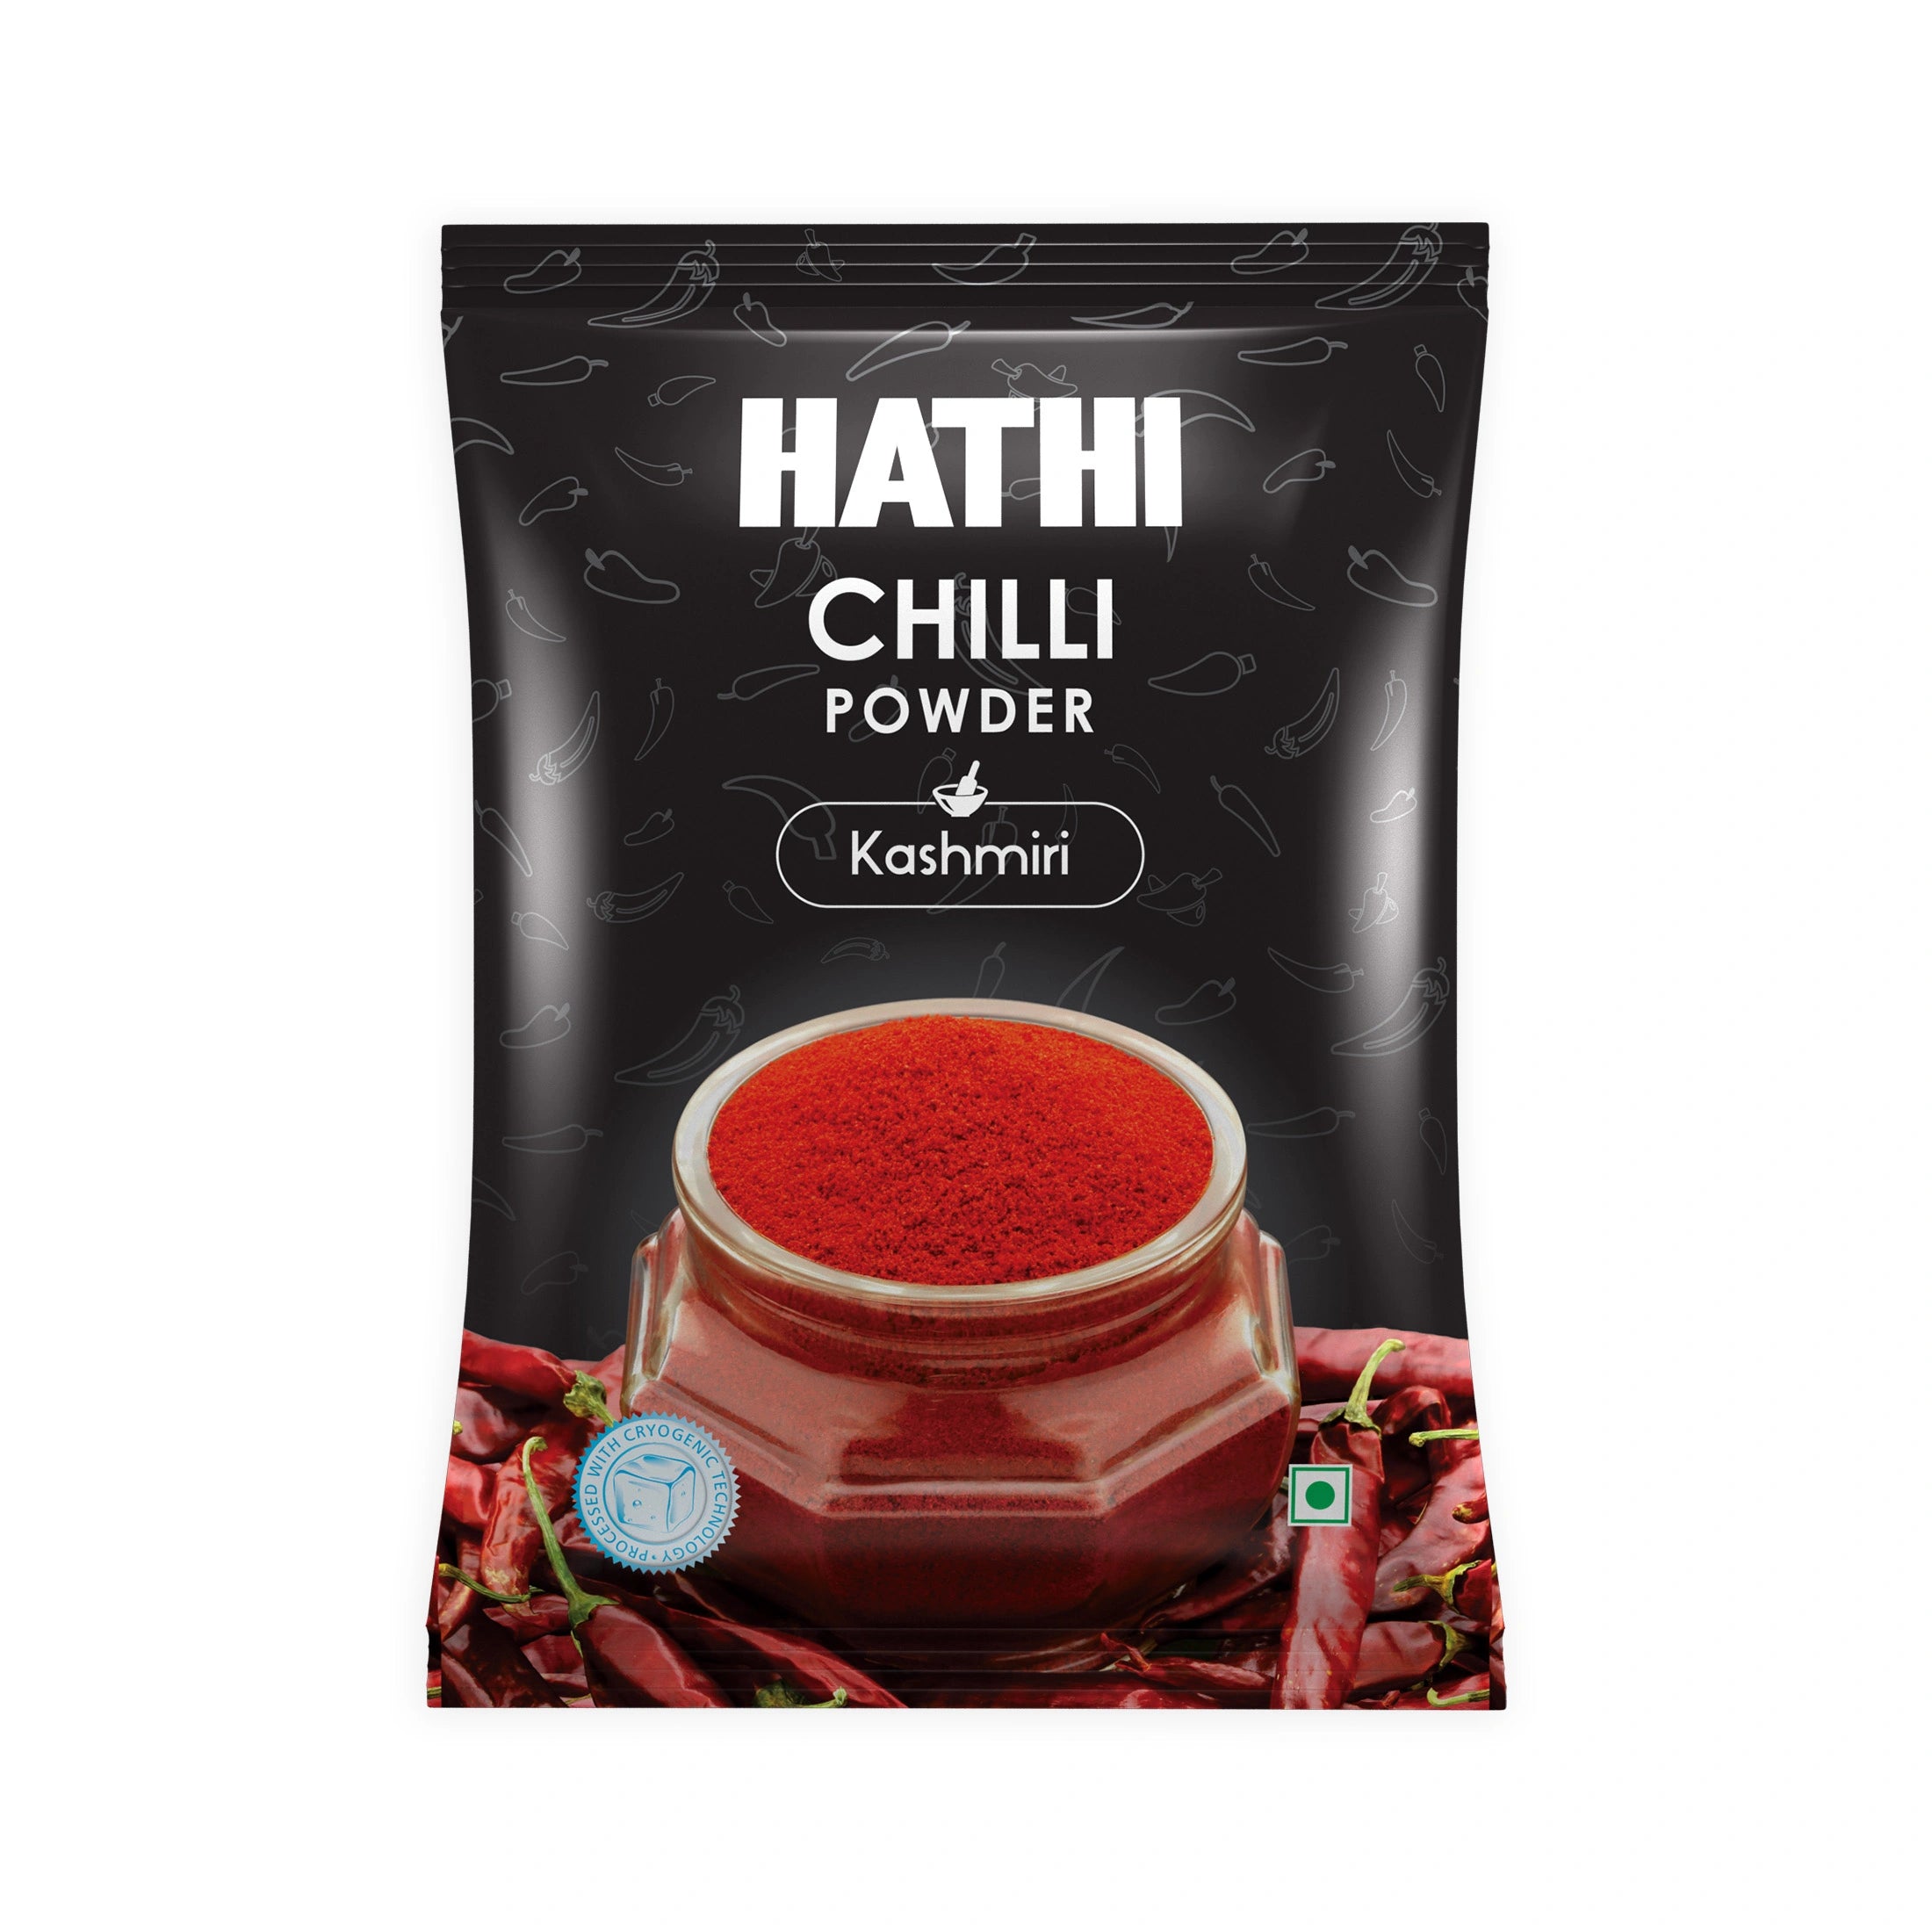
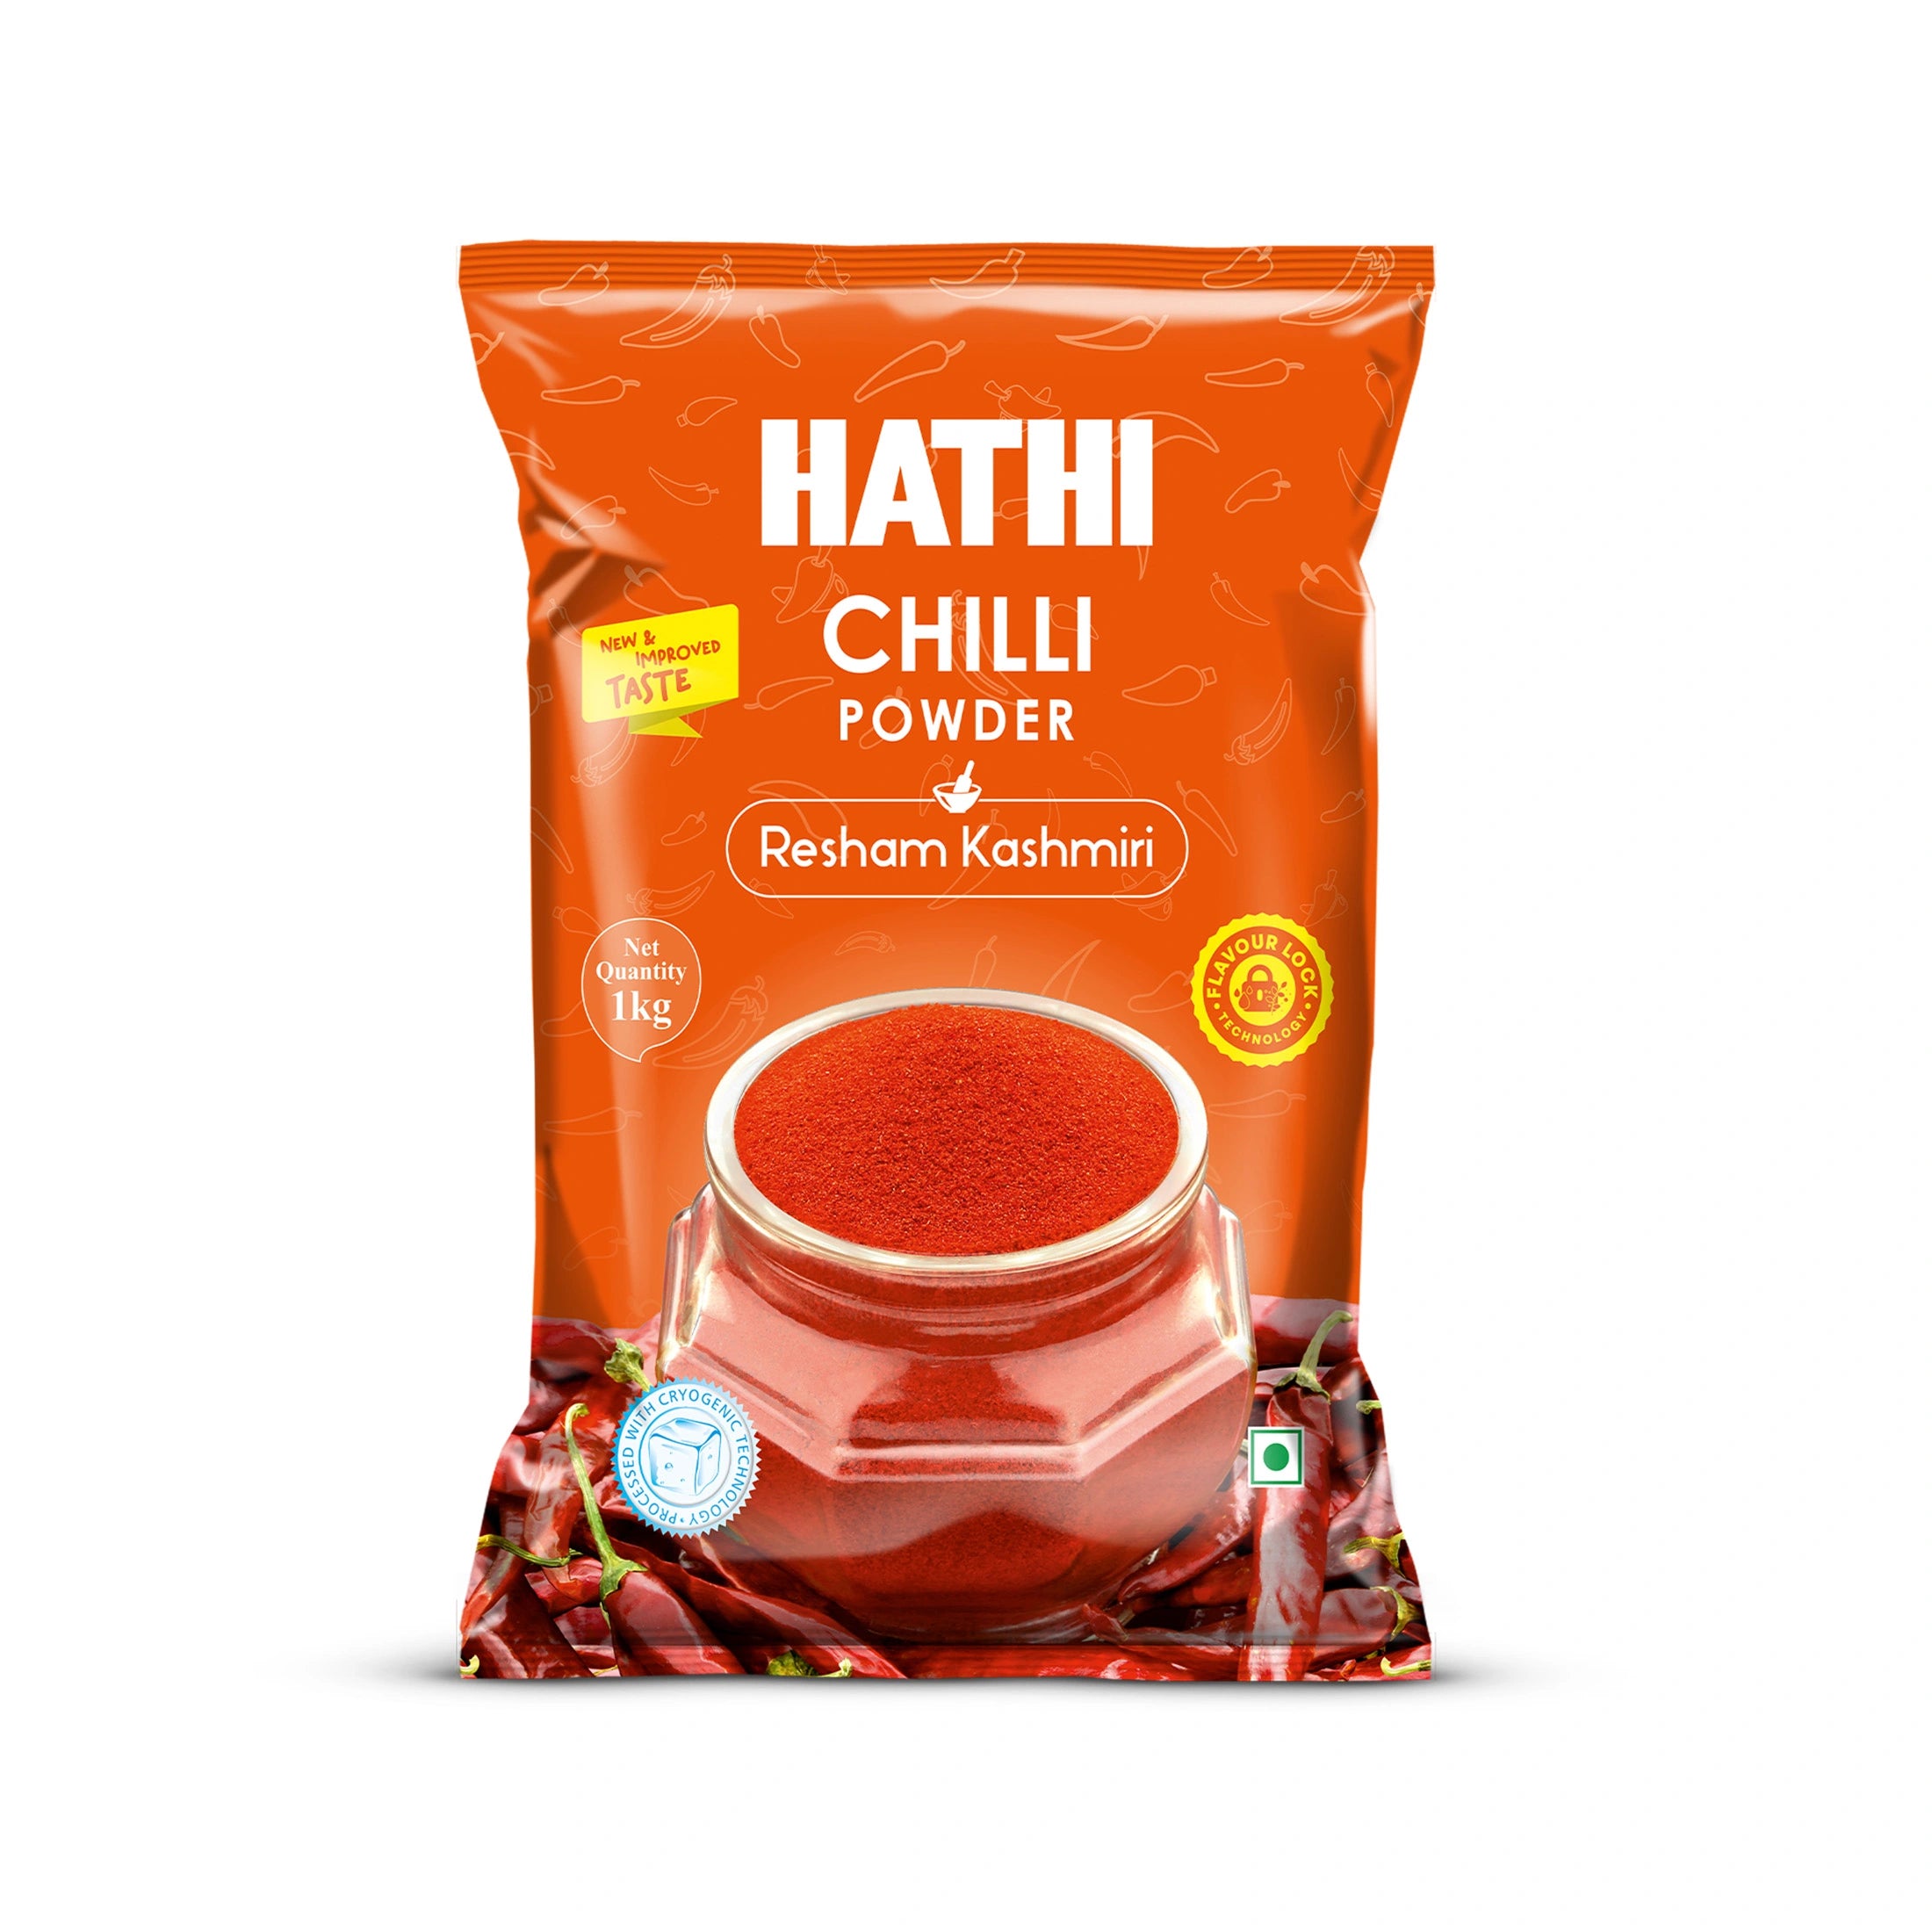
- 1.5 teaspoons hathi masala kashmiri chilli powder
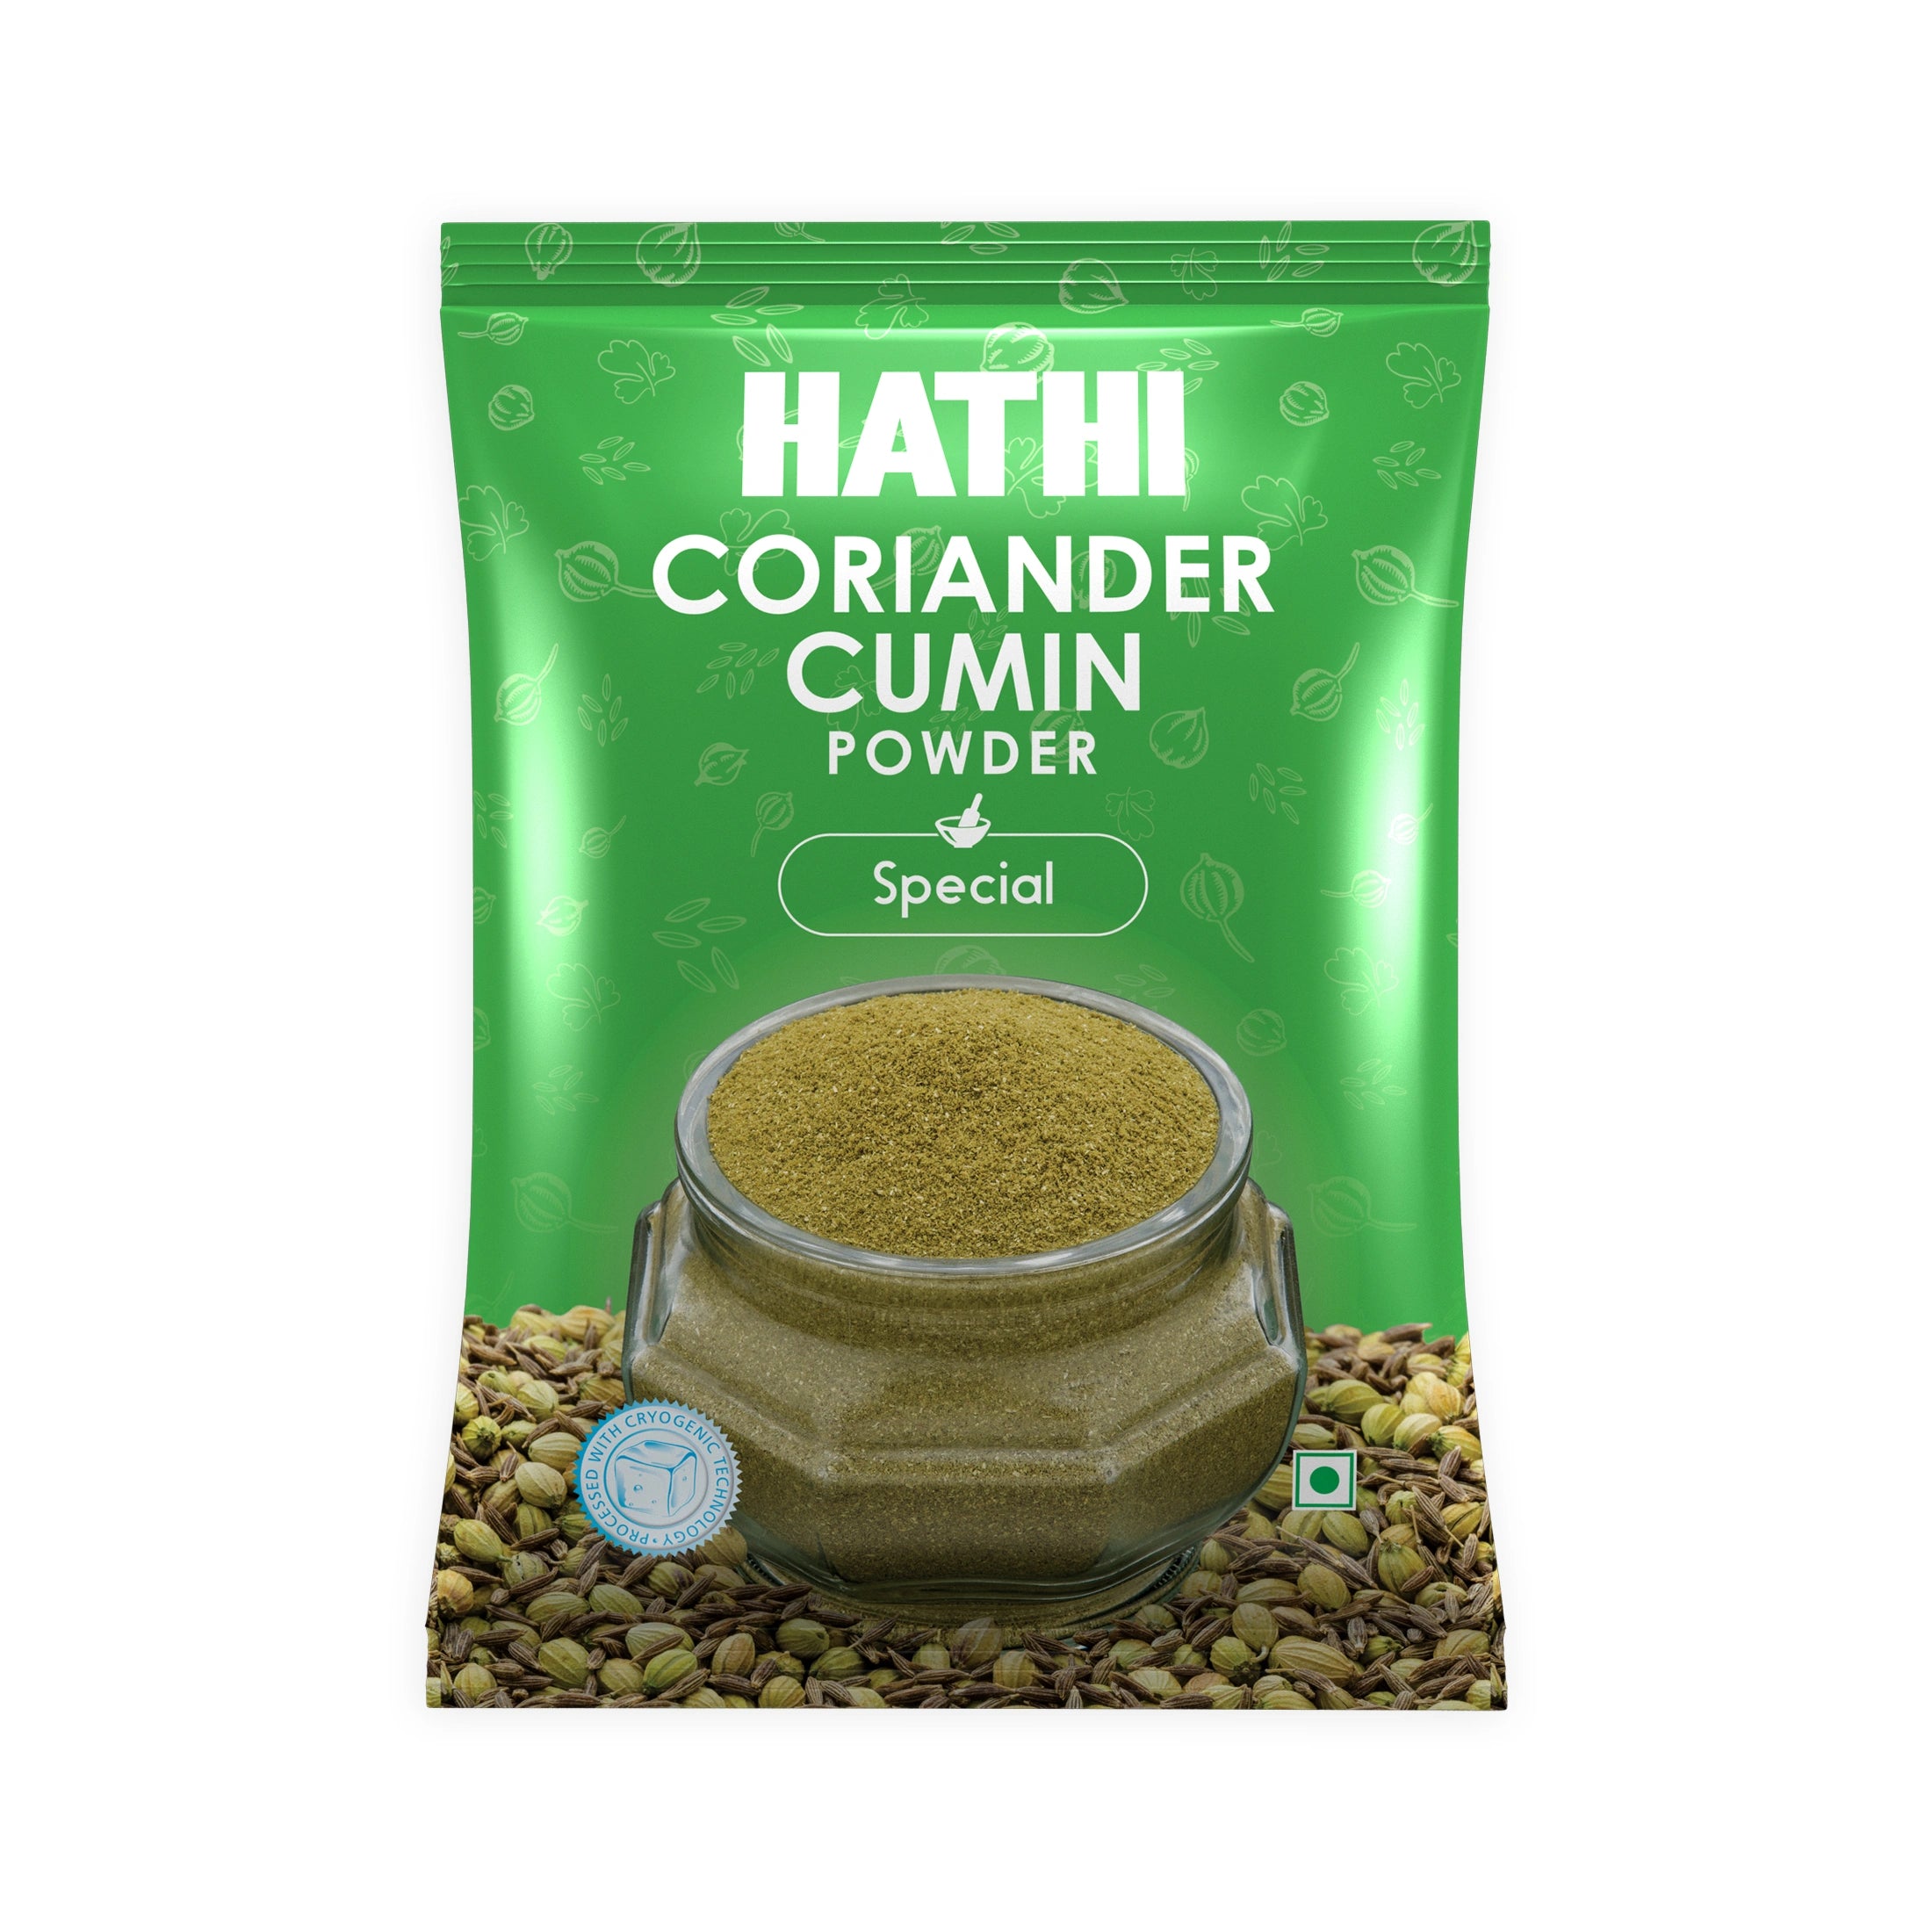
- 2 teaspoons hathi masala coriander-cumin powder
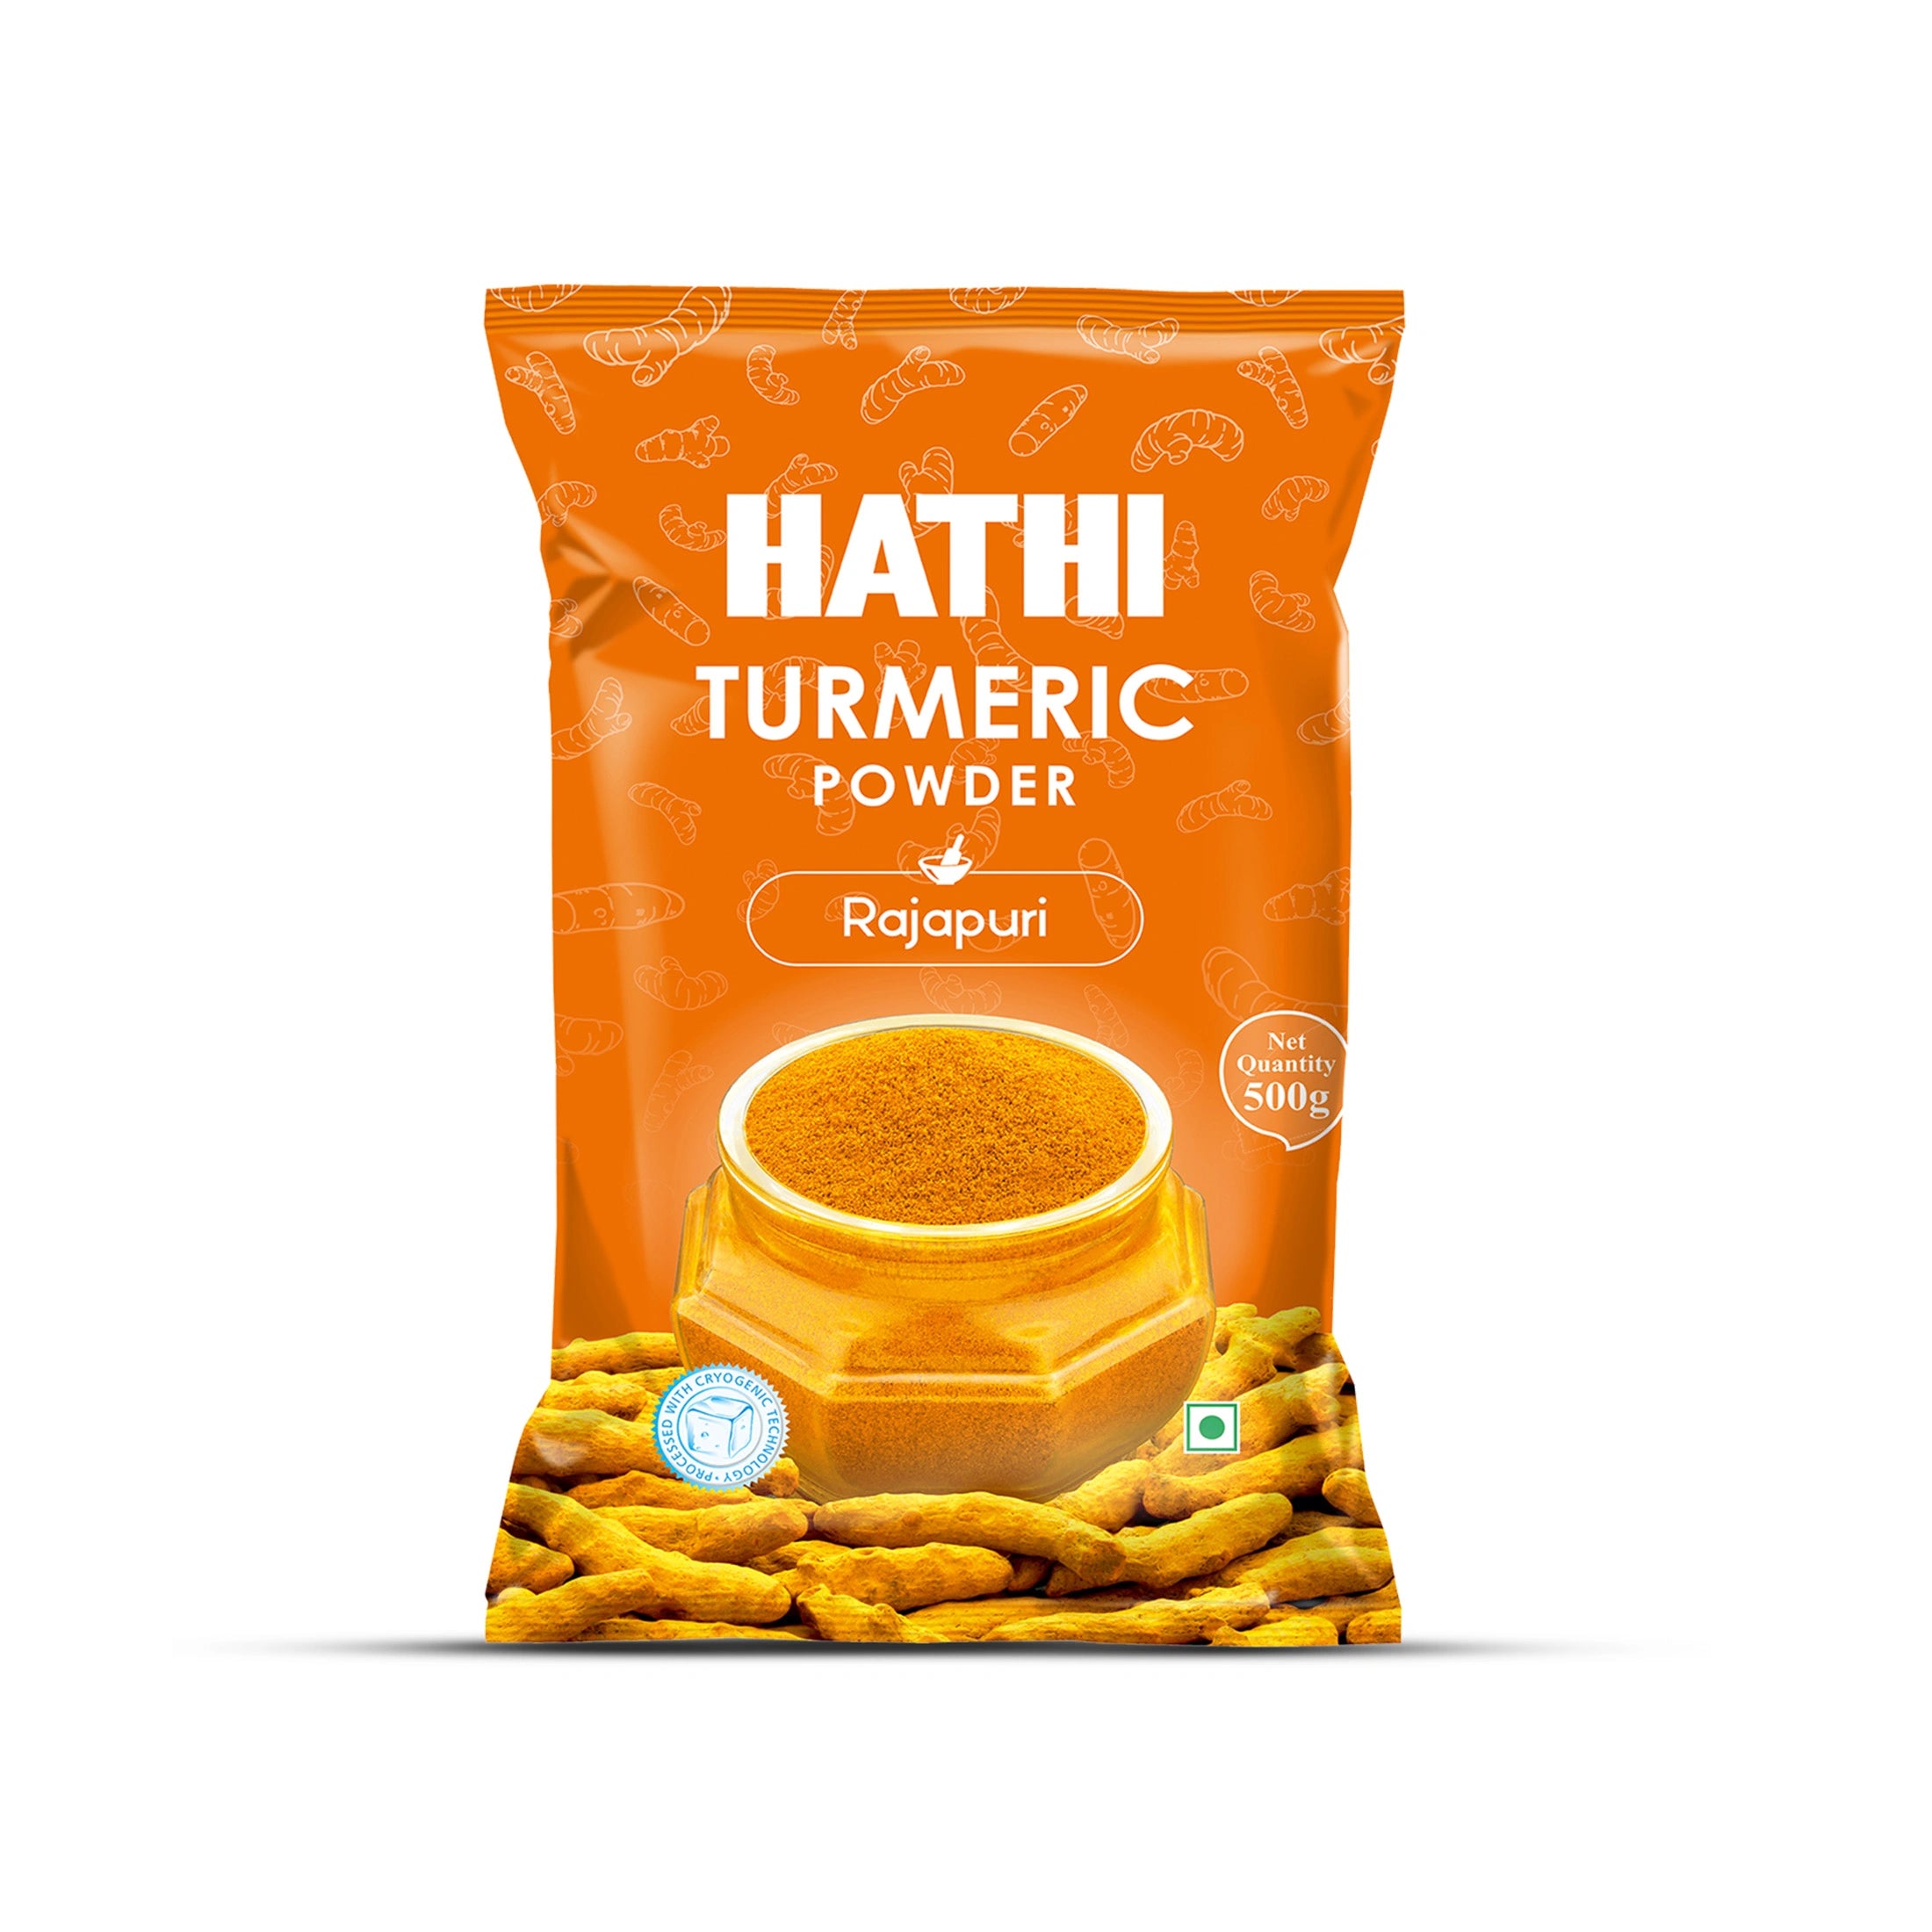
- ¼ teaspoon hathi masala turmeric powder
- ½ teaspoon amchur powder (dry mango powder)
- 1 teaspoon kasuri methi (dried fenugreek leaves)
- Salt to taste
- Fresh coriander leaves for garnish
Pro Tip: Always choose Kashmiri chilli powder over regular chilli powder for this dish. Kashmiri chilli gives your masala base a beautiful, rich red colour without making it too spicy for everyone.
Step-By-Step Chana Masala Recipe

Step 1: Soak and Cook the Chickpeas
Wash 1 cup of dried white chickpeas and soak them in 3-4 cups of water overnight (8 hours). The chickpeas will double in size. Drain the water and rinse the chickpeas once more.
Add the soaked chickpeas to a pressure cooker with 1.5 cups of fresh water and a little salt. Cook them for 5-6 whistles on medium heat. Let the pressure drop naturally before opening the lid.
No pressure cooker? Boil the chickpeas in a regular pot with 3 cups of water for 45-60 minutes until tender.
Using canned chickpeas? Drain and wash them well. Make sure they are soft before adding them to the base masala. If they are still hard, boil them in a pot with 1 cup of water for 10 minutes before adding them to the masala base.
Step 2: Build the Masala Base
Heat 2 tablespoons of oil or ghee in a heavy kadhai on medium heat. Add the whole spices, such as bay leaf, cinnamon, cloves, and green cardamom. Let them crackle for 20-30 seconds, until you smell the whole spices.
Add one slit green chilli along with some finely chopped onions. Cook it until the onions caramelize and give a nice golden yellow. This procedure takes about 8-9 minutes. Don’t rush this step; caramelized onions provide a sweet, deep foundation for your masala.
Add the ginger-garlic paste and stir it for 1 minute until the raw smell is gone.
Step 3: Cook the Tomatoes
Add the chopped tomatoes or tomato puree to the caramelized onions with a pinch of salt. Cook everything over medium heat until the tomatoes turn soft and mushy, for about 6-7 minutes. The base is ready when the oil starts to separate and show at the edges of the pan.
Step 4: Add the Spices
Add the spices, such as turmeric powder, Kashmiri chilli powder, coriander-cumin powder, and hathi garam masala. Combine the spices with the masala base and cook everything for 2-3 minutes, until you can smell the masala and its colour deepens. If it sticks to the pan, add a sprinkle of water.
Step 5: Add the boiled Chickpeas
Add the boiled chickpeas to the base masala along with 1.5 cups of water. If you want a thinner gravy, you can adjust the water accordingly. Mix it well. Taste and adjust the salt if needed.
Cover the pan and simmer on low to medium heat for 15 minutes. The chickpeas will absorb the masala, and the gravy will thicken.
Step 6: Finishing
Turn off the heat. Sprinkle some amchur powder and kasuri methi. Crush the kasuri methi between your hands before adding it. This process releases its smell. Stir everything once, cover for 2 minutes, and garnish with fresh coriander leaves before serving.
Step 7: Serve it hot
Serve this restaurant-style chana masala with bhature, puri, naan, roti, or plain jeera rice. Squeeze a little lemon juice on top before serving. A small bowl of chopped onion and spicy green chilli is the authentic Punjabi way to serve this dish.
Chana Masala Recipe Variations
Jain chickpeas (No Onion, No Garlic)
Don’t use the onion-and-ginger-garlic paste. Sizzle the whole spices in hot oil first, then add a small pinch of hathi masala hing (asafoetida) and let it sizzle for 10 seconds before adding the tomatoes. Hathi garam masala gives good depth to the gravy without adding onion or garlic.
Canned chickpeas
Drain the canned chickpeas and rinse them. Start directly from Step 2. This variant will be ready in about 25-30 minutes and tastes nearly as good. Just make sure your canned chickpeas are soft before adding them to your masala base.
Restaurant-style chickpeas
Add 1 tablespoon of butter along with some oil at the beginning. Once the chickpeas are cooked, top with a tadka of ghee, whole red chilli, and a pinch of garam masala just before serving. This tadka is the finishing touch that most restaurants use.
Expert tips for Perfect Chana Masala:
- Soak overnight: Soaked chana cook better, taste lighter, and are easier to digest. Don’t skip this step if you are using whole dried chickpeas.
- Cook the masala base properly: Give the full 8-9 minutes. Golden onions give the gravy its sweet, rich depth. Pale onions give a flat masala base and gravy.
- Cook the tomatoes until the oil separates: This is one of the most important steps. Don’t add the spices until the tomatoes are completely cooked. Raw tomatoes make the masala base tangy and thin.
- Taste before serving: Chickpeas absorb salt as they cook. Always taste the gravy after it has simmered and adjust the salt and lemon accordingly before serving.
Suggestions to Serve Chana Masala:
Chana masala is a full meal in itself. You can also serve it with:
- Bhature or puri: It’s the most classic combination in North India
- Roti and parathas for daily meals
- Jeera rice or plain basmati rice
- Serves a bowl of dahi or raita on the side to balance the spice
-
Add some sliced onion, green chilli, and a lemon wedge on the side.
Storage And Reheating
Fridge: Store leftover chana masala in an airtight container for up to 3 days. The flavour actually gets better the next day as the chickpeas absorb the masala overnight.
Freezer: You can freeze chana masala for up to 1 month. Cool it completely before freezing. Defrost overnight in the fridge before reheating.
To reheat: Warm in a wide pan on low flame. Add a small splash of water. Stir well. Don’t reheat on high flame; the gravy will dry out and stick.
Leftover tip: Leftover chana masala pairs perfectly as filling for rolls and wraps.
Frequently Asked Questions : Chana Masala Recipe
Can I make chana masala without soaking the chickpeas overnight?
Yes, you can, but the texture won’t be as good. For a quick soak, pour 6 cups of boiling water over 1 cup of dried chickpeas, cover, and let sit for 1 hour. Then pressure cook as normal. Soaked chickpeas are lighter, cook more evenly, and are easier to digest.
Why does my chana masala gravy taste sour or bitter?
Tangy gravy usually means the tomatoes weren’t cooked enough. Cook them until they are mushy, and the oil separates from the edges. This removes the raw, acidic taste. If you overcook the garam masala, it turns the entire dish dull. Add it along with the other spice powders.
How do I get that dark colour in restaurant-style chana masala?
Use hathi Kashmiri chilli powder instead of regular red chilli powder. It adds a deep, rich colour without giving extra spice. Also, you can cook the onion-tomato masala for a long time until it turns a dark, rich red. It naturally gives the masala base its colour.
Can I use canned chickpeas instead of dried?
Yes. Drain the canned chickpeas and rinse them well. Make sure they are soft; squeeze one to check. If they feel hard, boil them in 1 cup of water for 8-10 minutes before adding them to the masala base. Canned chickpeas are a good shortcut.
What is the difference between chana masala and chole masala?
Both dishes are made with white chickpeas, but they taste completely different. Chole masala (Punjabi chole) is prepared by boiling chickpeas with tea bags or amla, and it has a slightly tangy taste. Chana masala is more straightforward; it relies on a spiced onion-tomato base for its flavour.
How much hathi chana masala should I use?
Always start with 1 teaspoon per 4 servings. Hathi Masala uses cryogenic grinding technology. That’s why hathi’s spices are stronger than regular masalas. If you like a sharper flavour, add 0.5 teaspoon more.
Is chana masala good for health?
Yes. Chickpeas are one of the best natural sources of protein and fiber, which help you feel full longer and boost digestion. Masalas, such as turmeric, cumin, coriander, and garam masala, have natural anti-inflammatory and digestive properties that have been used in Indian cooking and Ayurveda for ages.
How do I store leftover chana masala?
Let it cool completely, then transfer it into any airtight glass or steel container. It stays good in the fridge for up to 3 days. The flavour of spices improves overnight. For long-term storage, freeze the dish for up to 1 month and defrost before reheating.